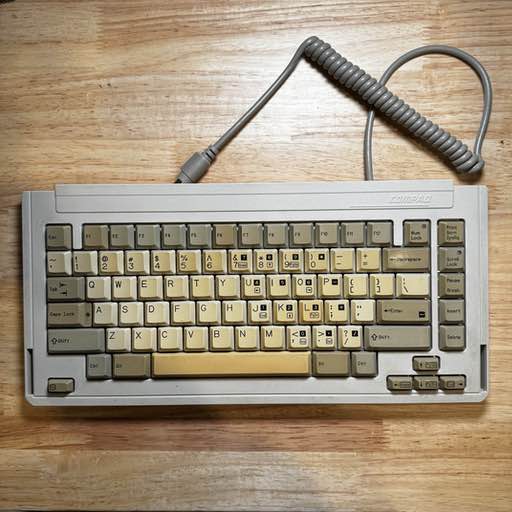
If you haven’t seen my original post about this machine, you can find it here.
In This Post:
The Starting Point
First step - teardown. I removed the three screws - one of which is hidden underneath the middle foam pad. Once doing this, the top cover lifts off with a little careful manipulation. There’s a couple plastic pins on the back that hold it together, so I was careful not to break those.
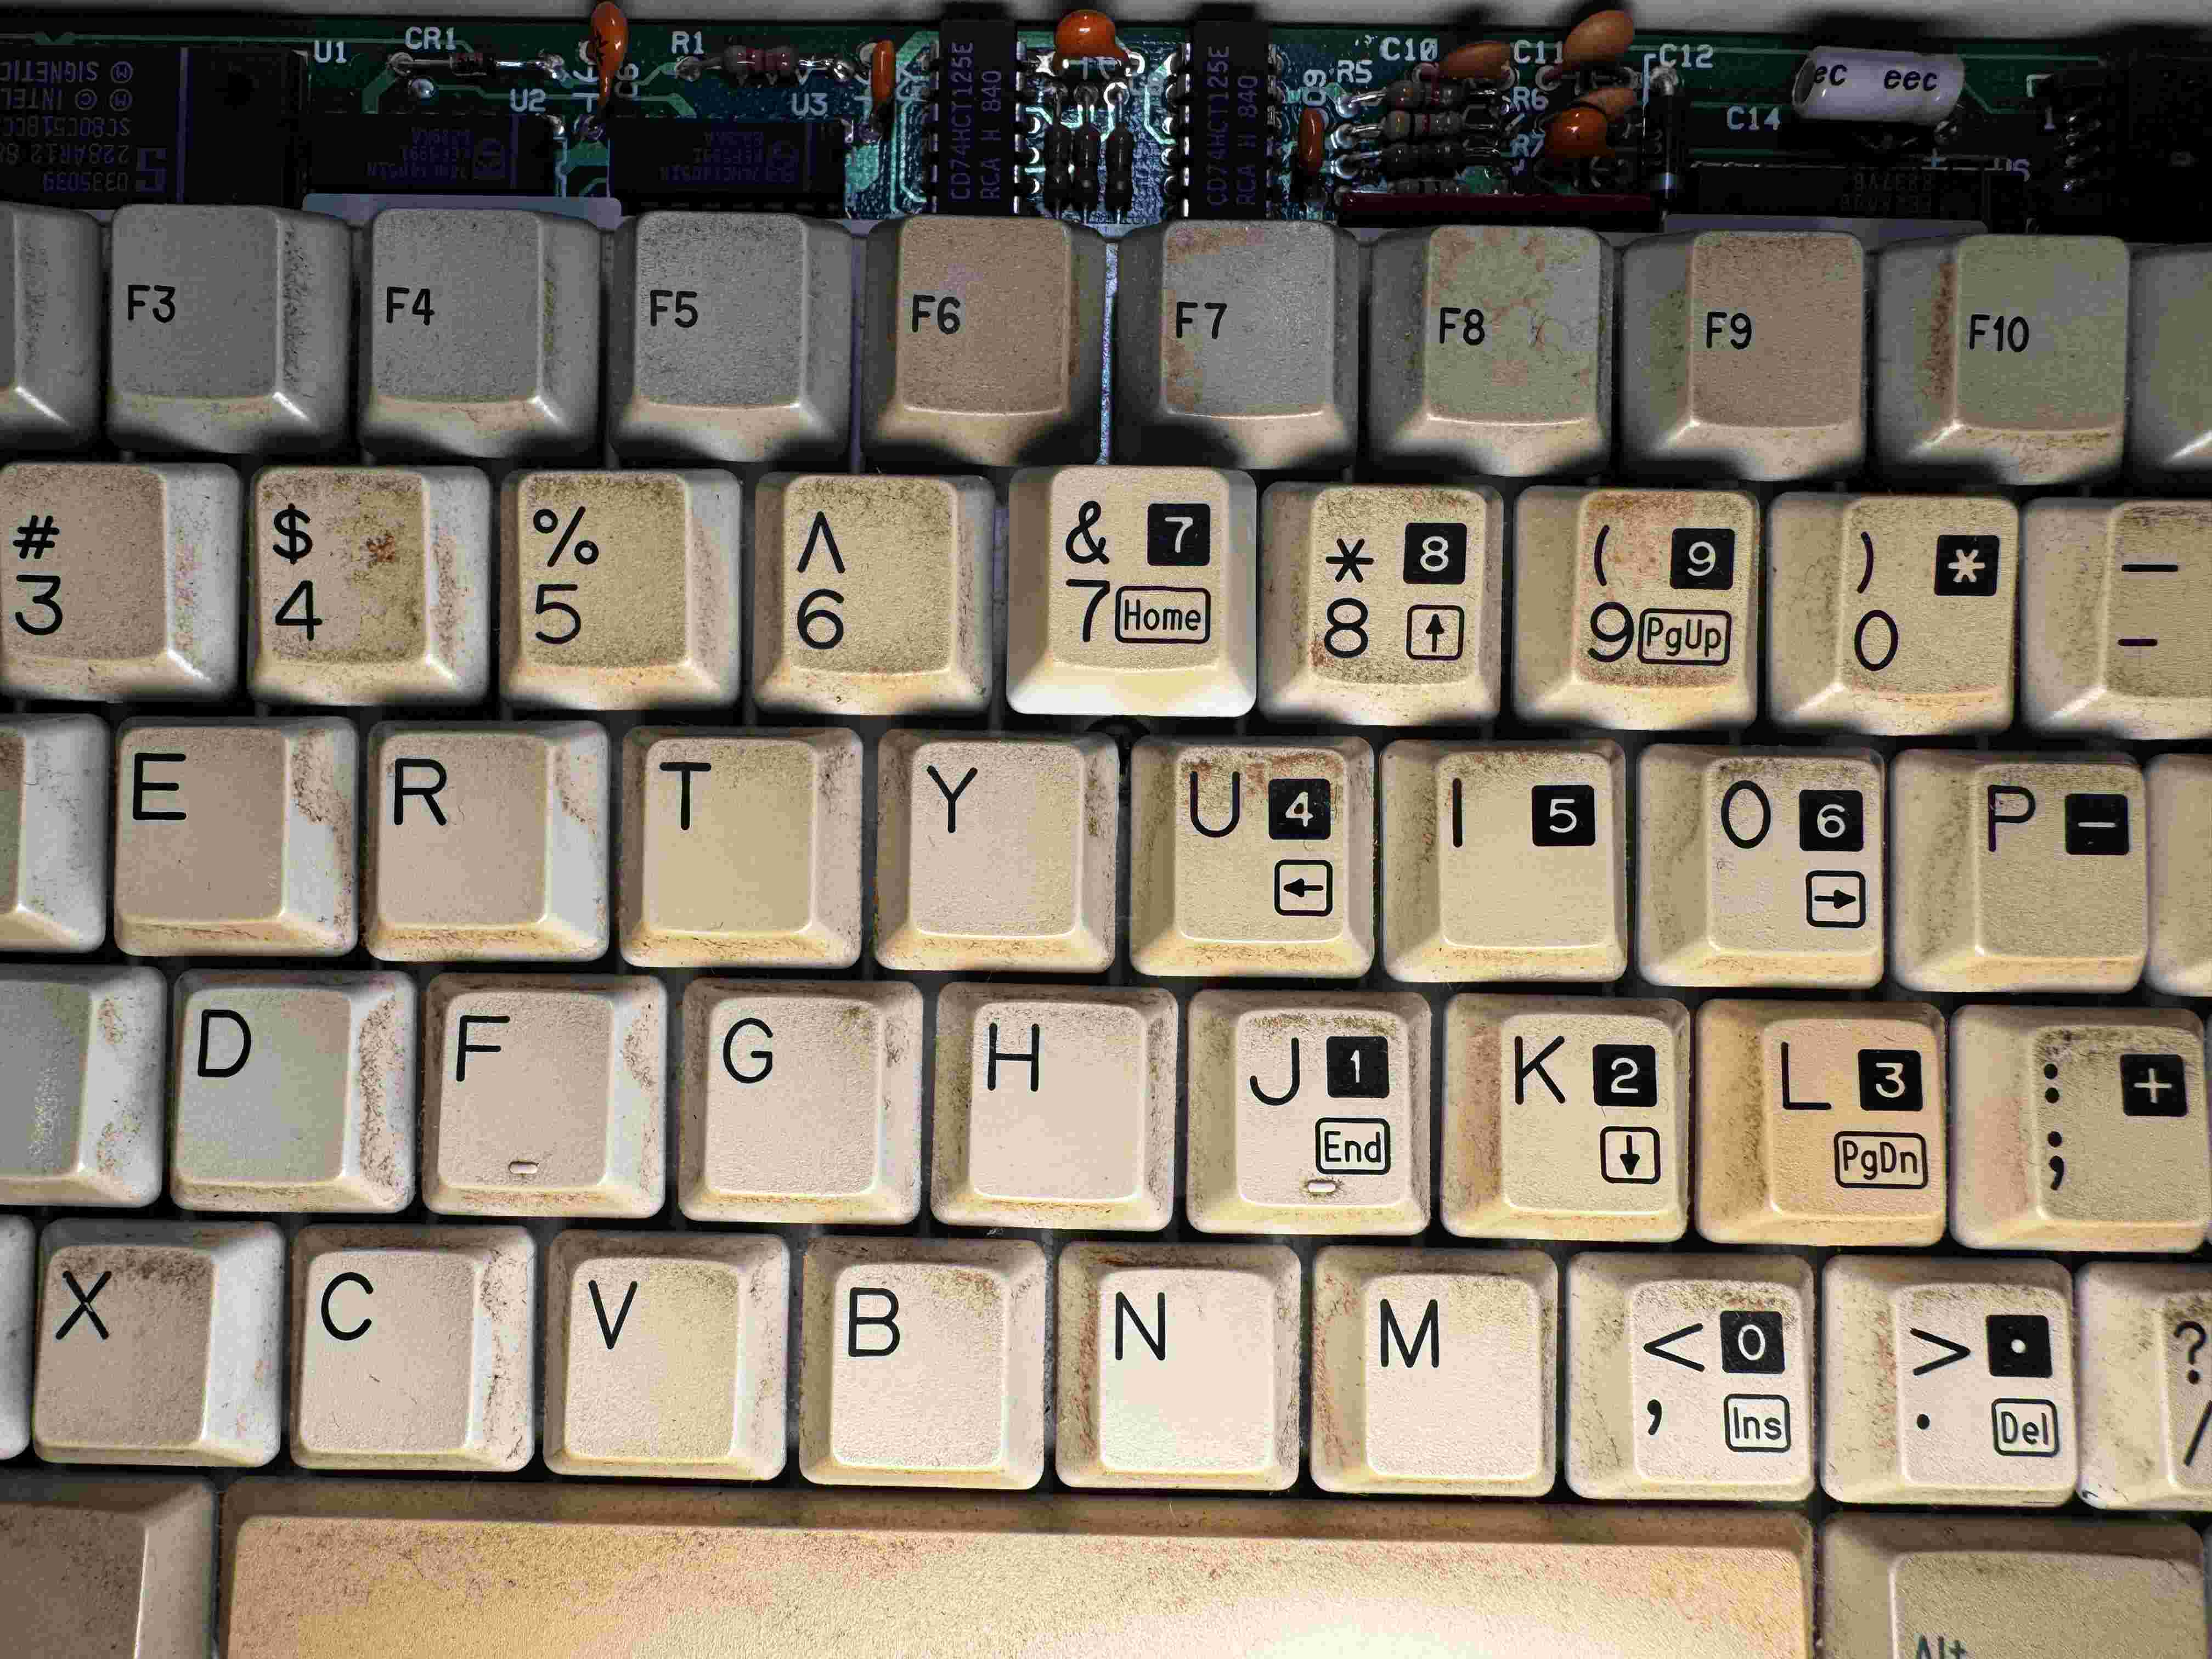
With the top cover removed along with a handful of keys, this is where we’re starting:
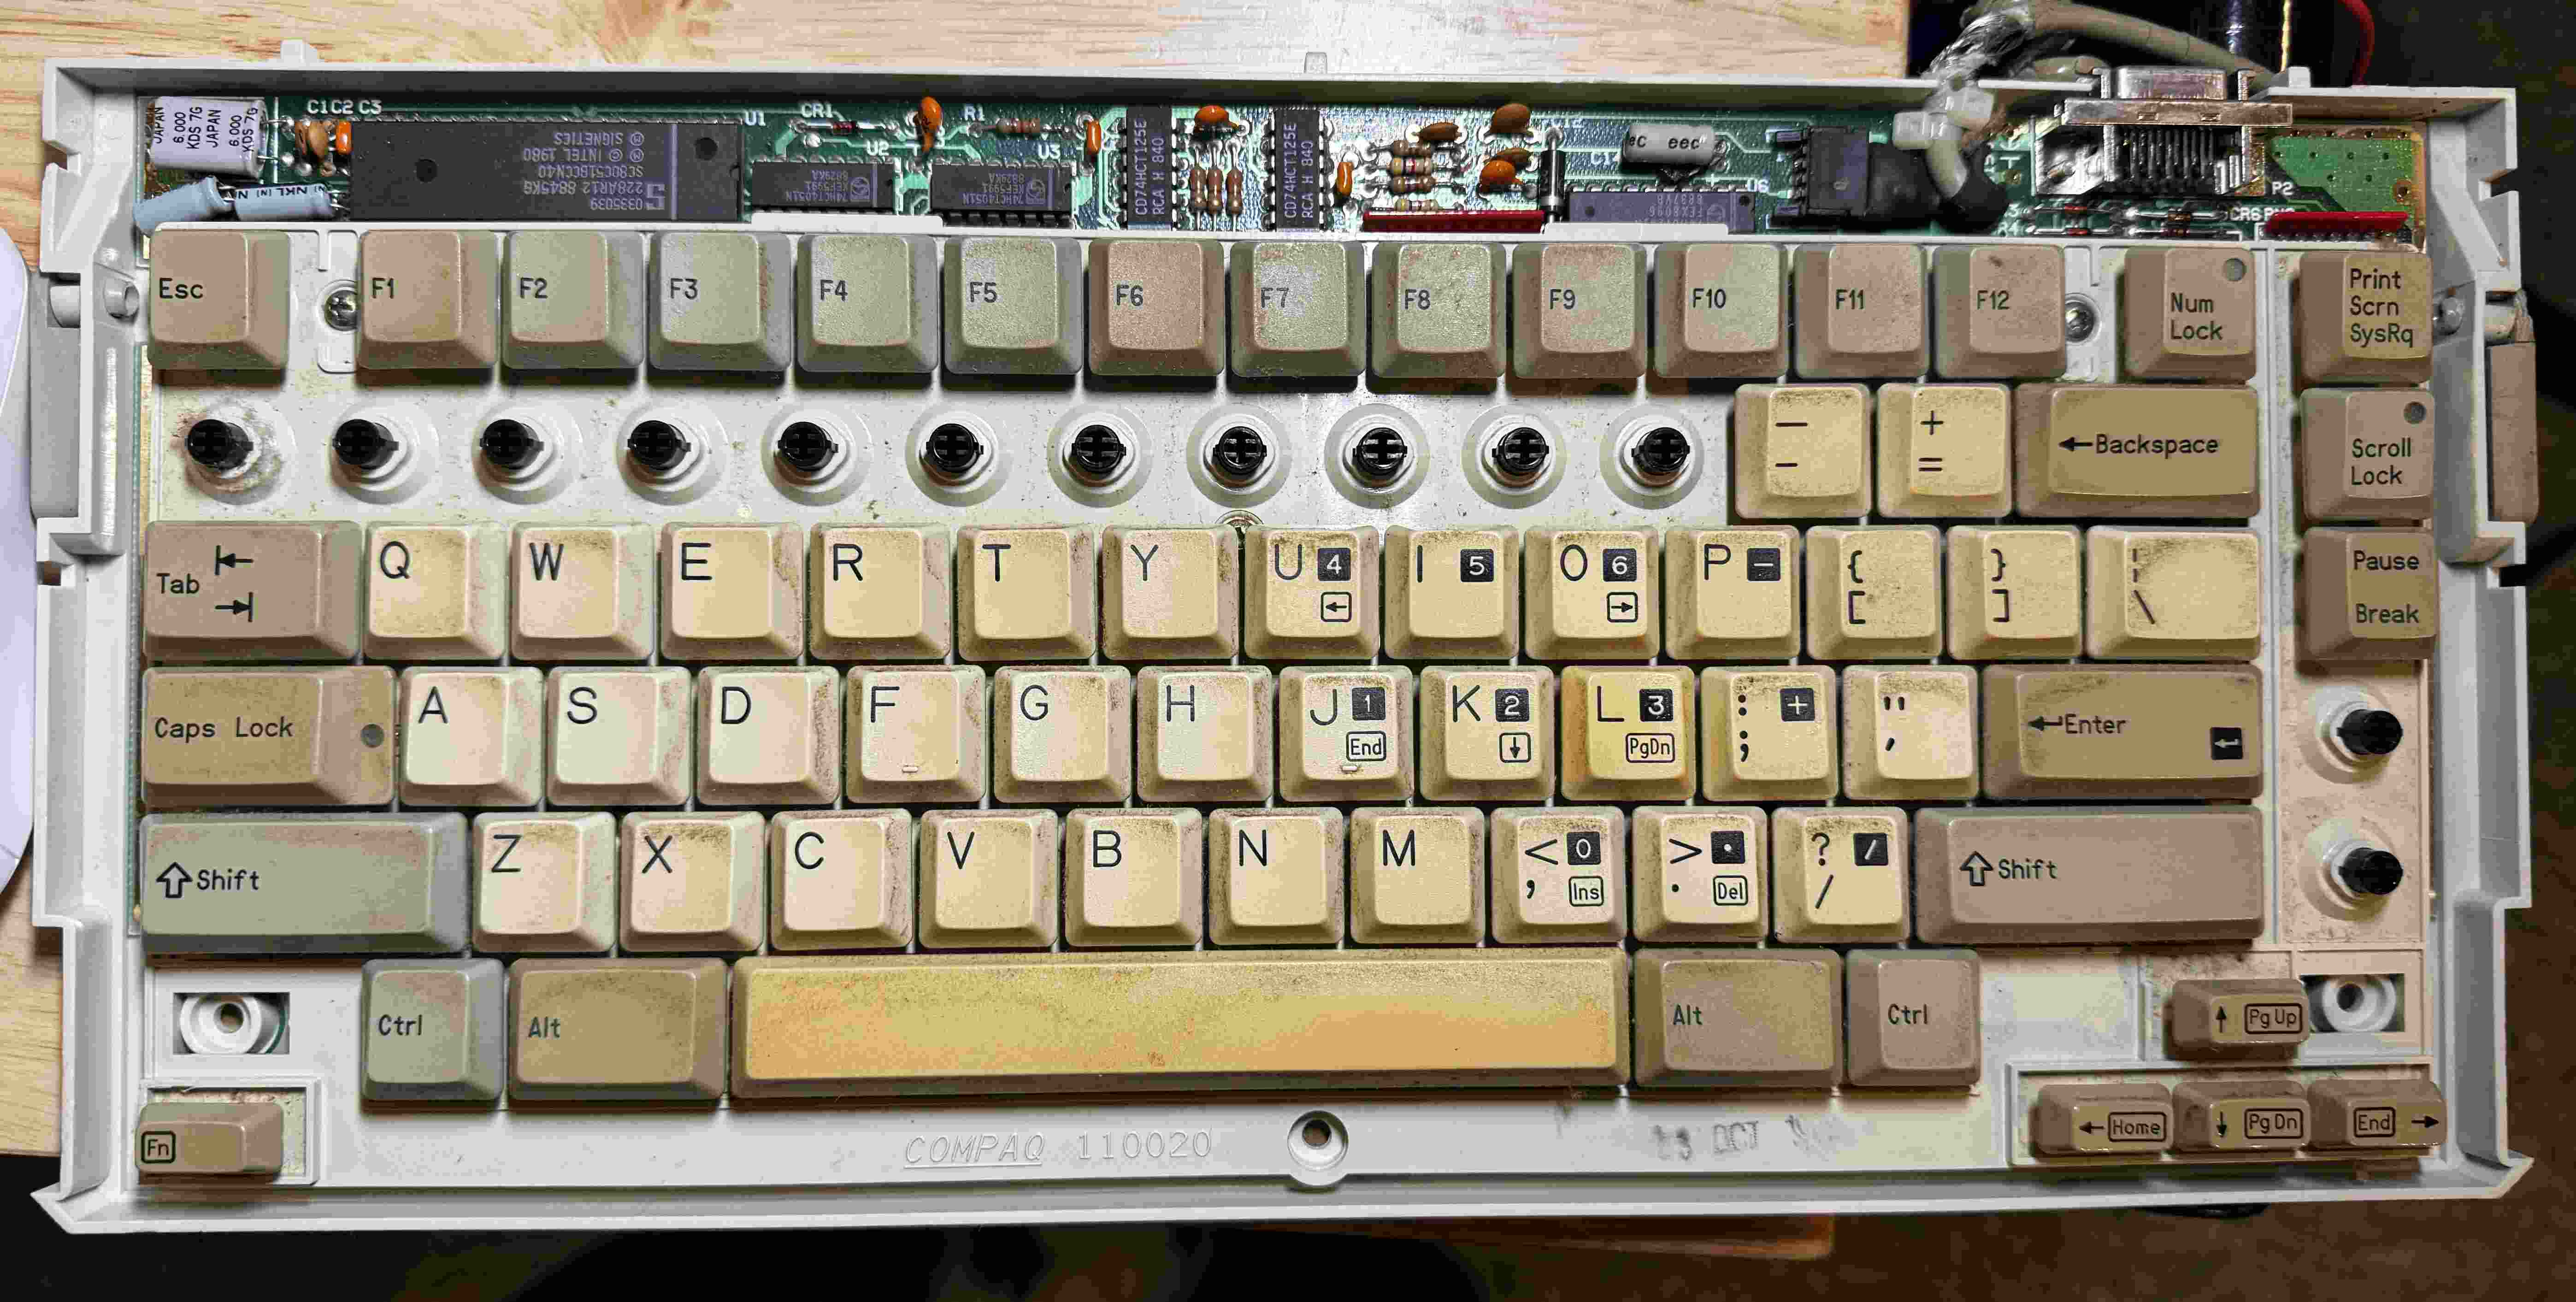
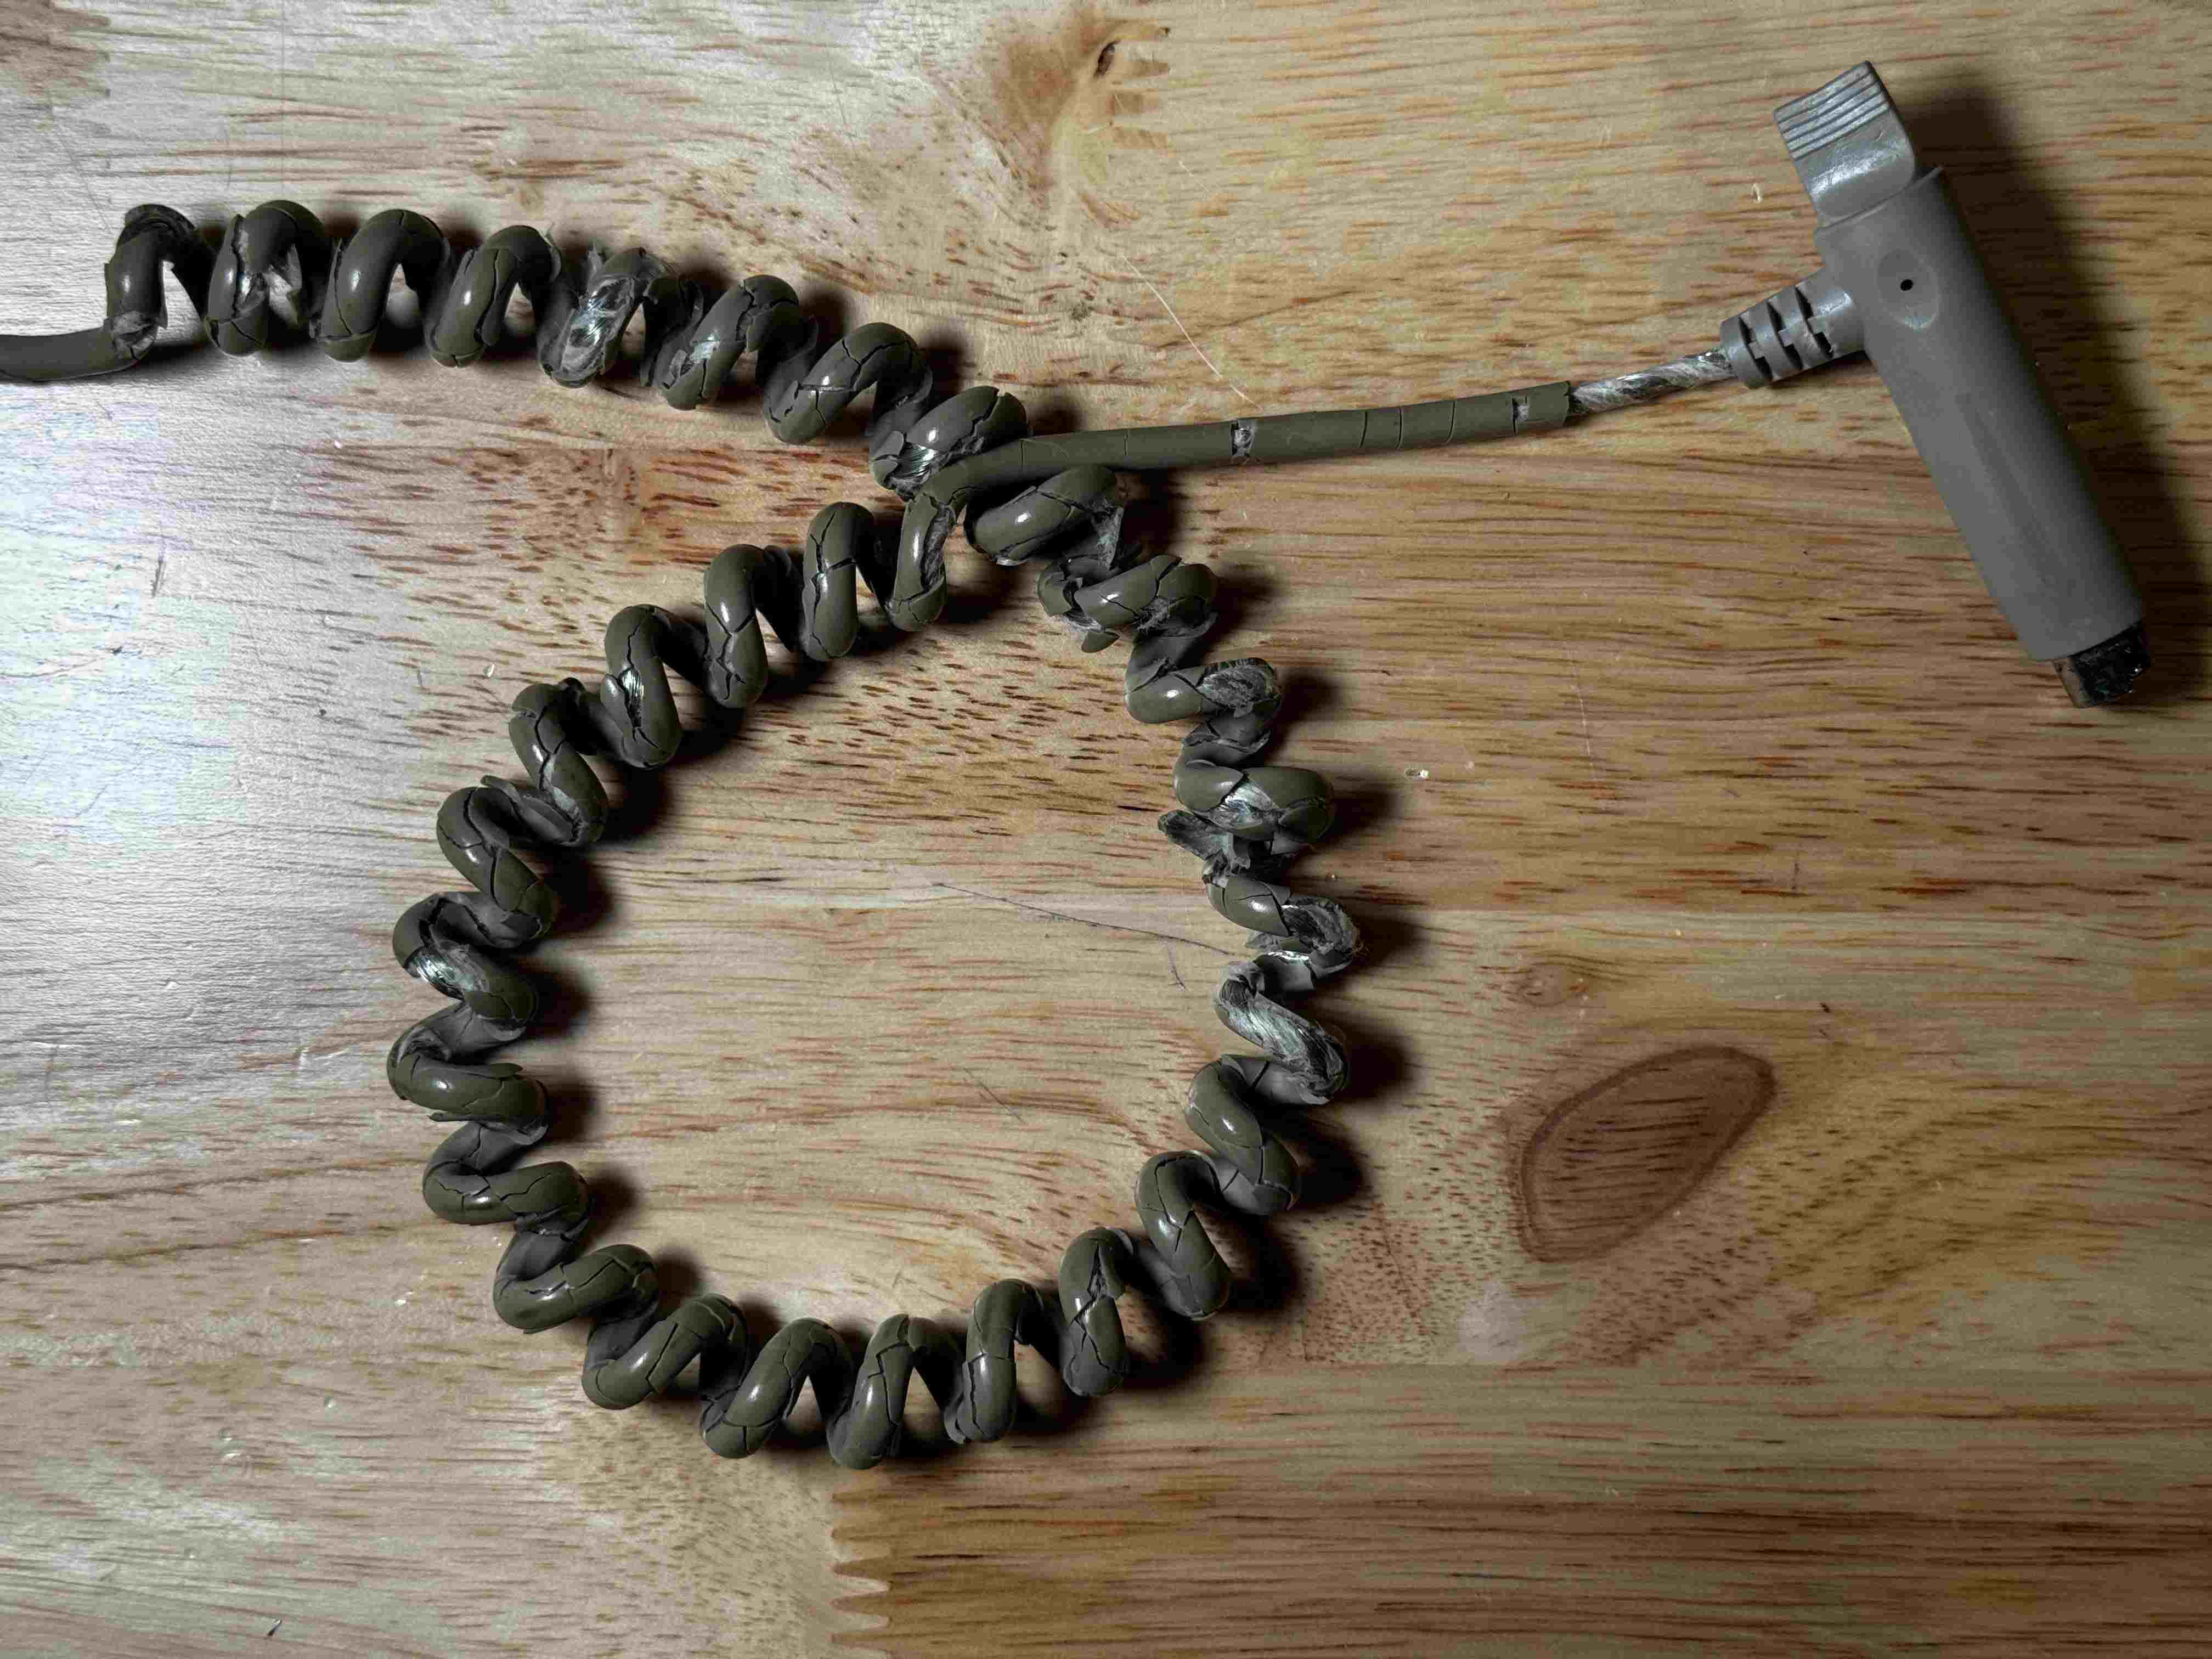
The top isn’t in terrible condition, but it’s pretty gross. The cable, which also works, is pretty nasty. It’s falling apart, leaving pieces all over my workspace. It has an interesting 90 degree plug, which I think is going to be tough to find ready to use in a modern cable:
Cleaning The Keys
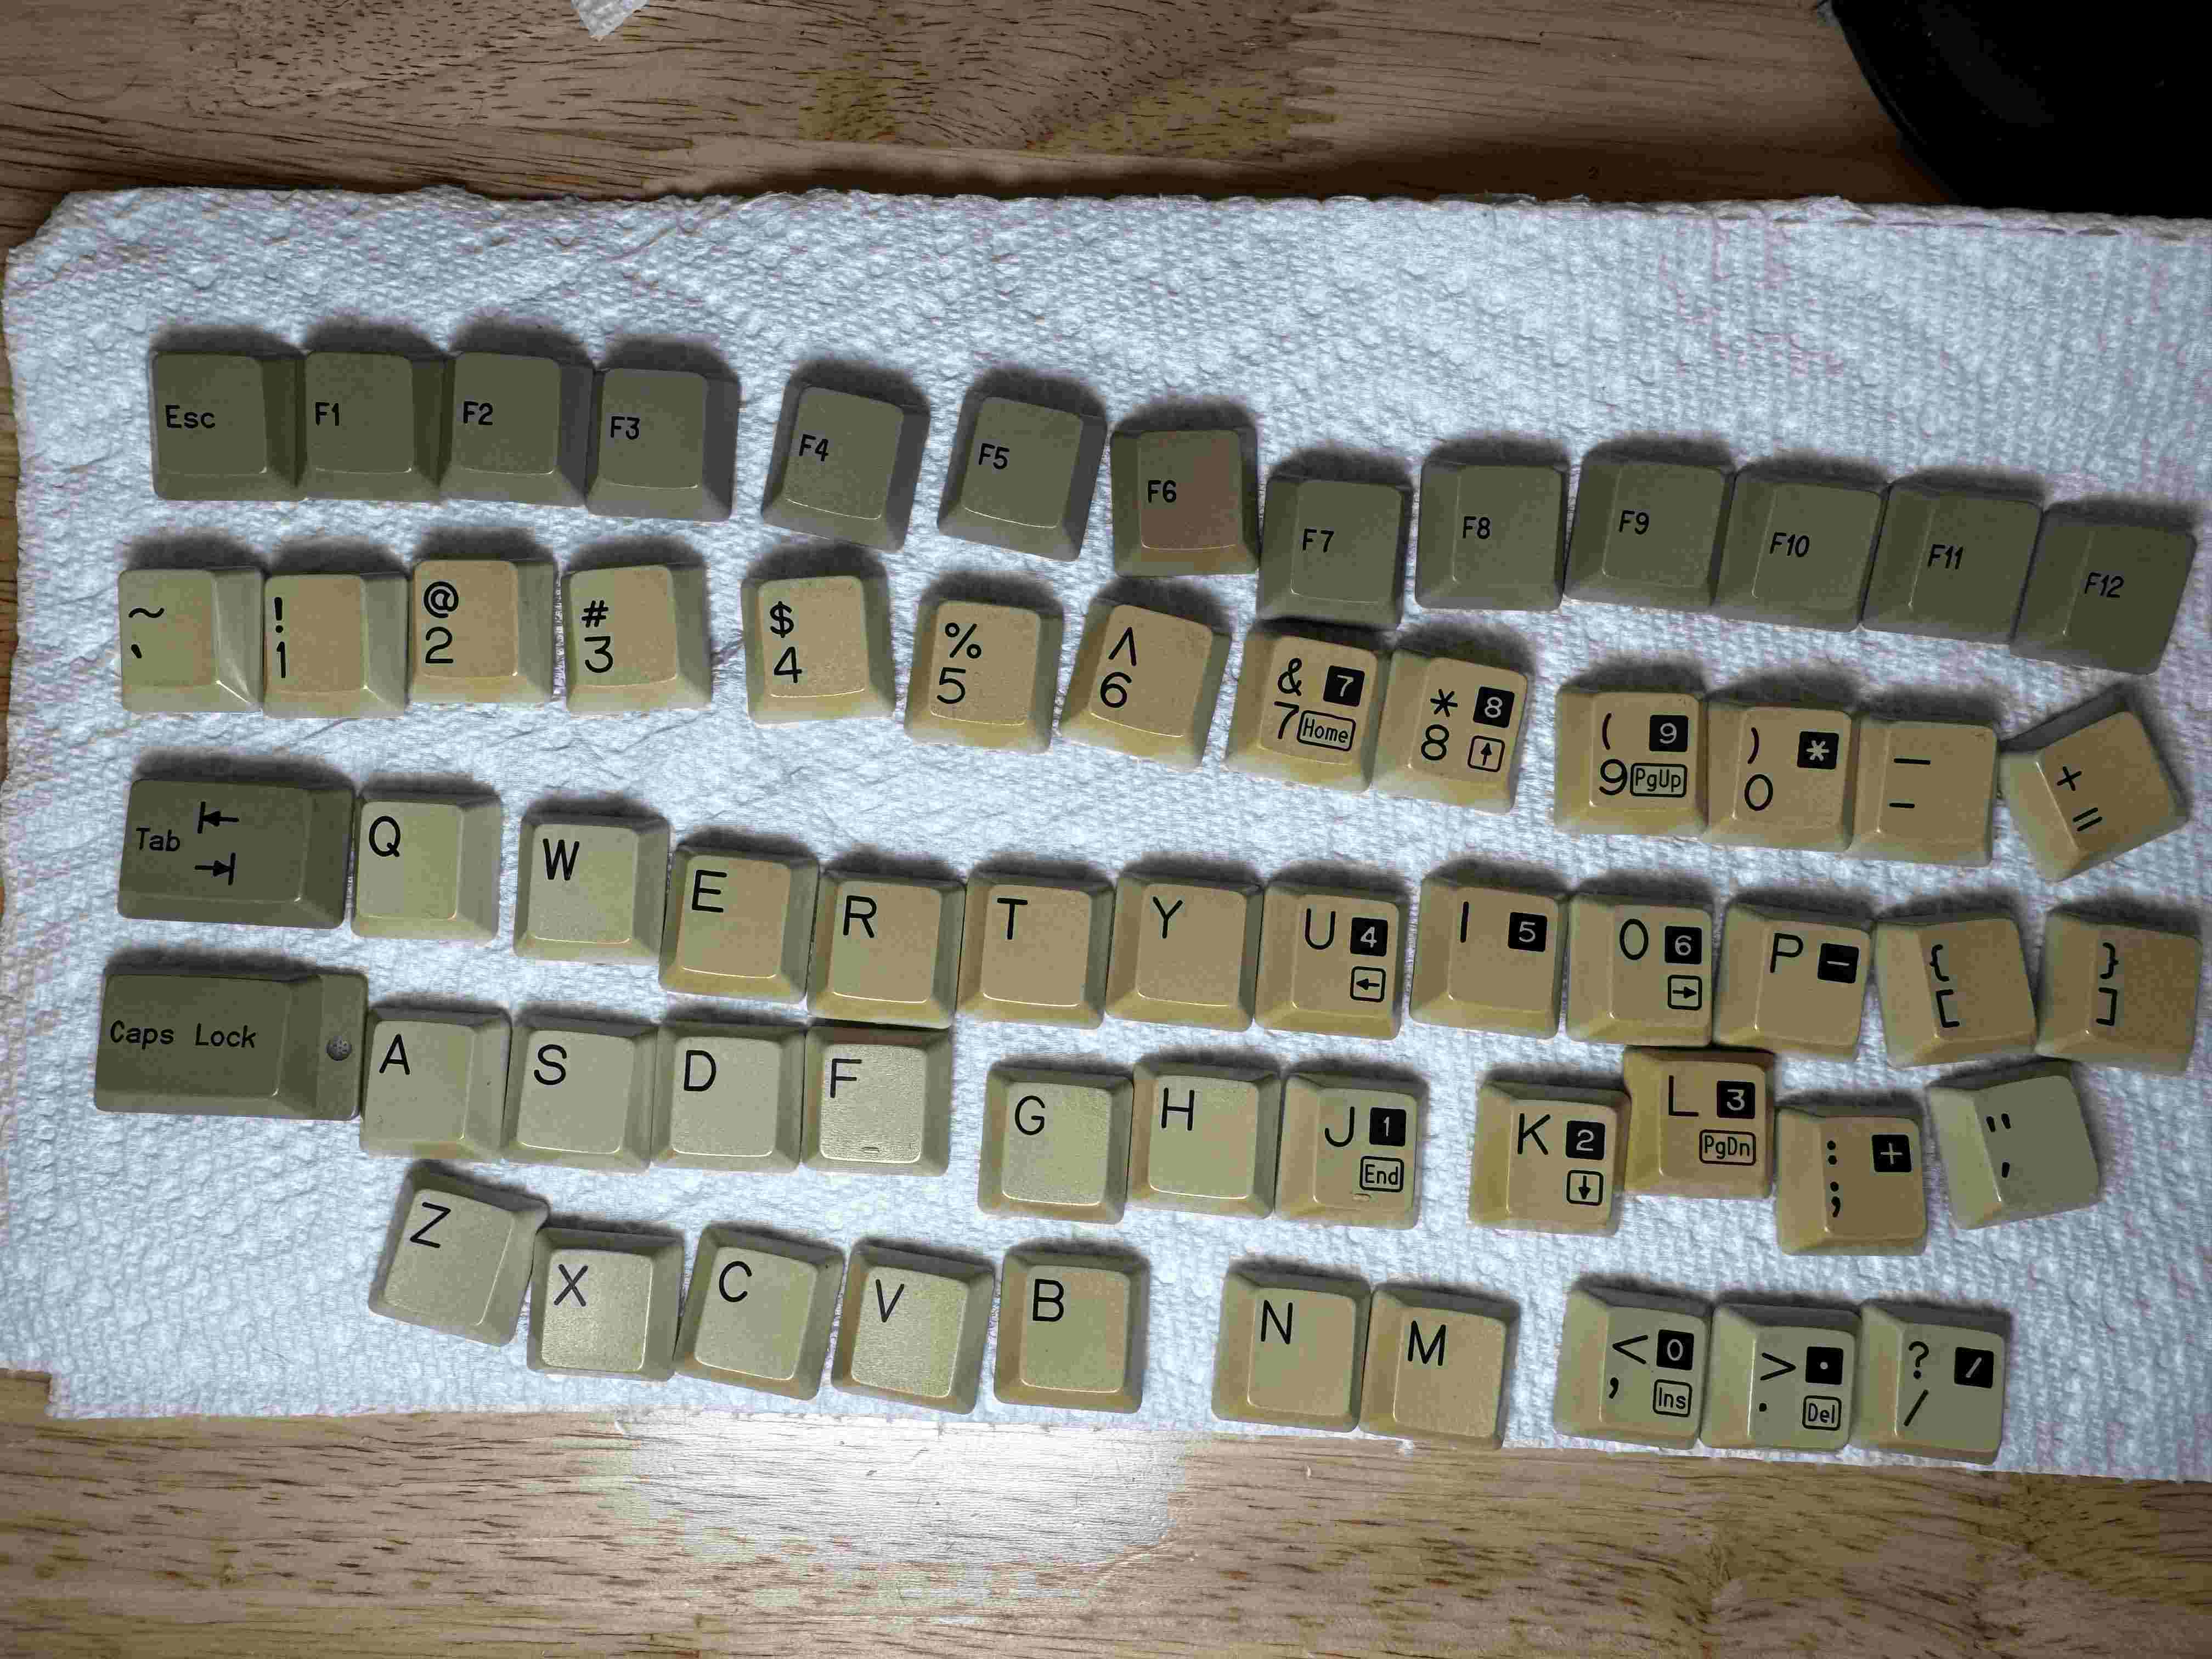
First - up: removing the keys and cleaning them. They are pretty nasty. The keys lift off pretty easily,. The enter, shift, space, .., have metal bars, so I carefully pulled those off. Then, under soapy water, I cleaned all the keys.
After cleaning, they are a little tinted from the plastic, but MUCH cleaner:
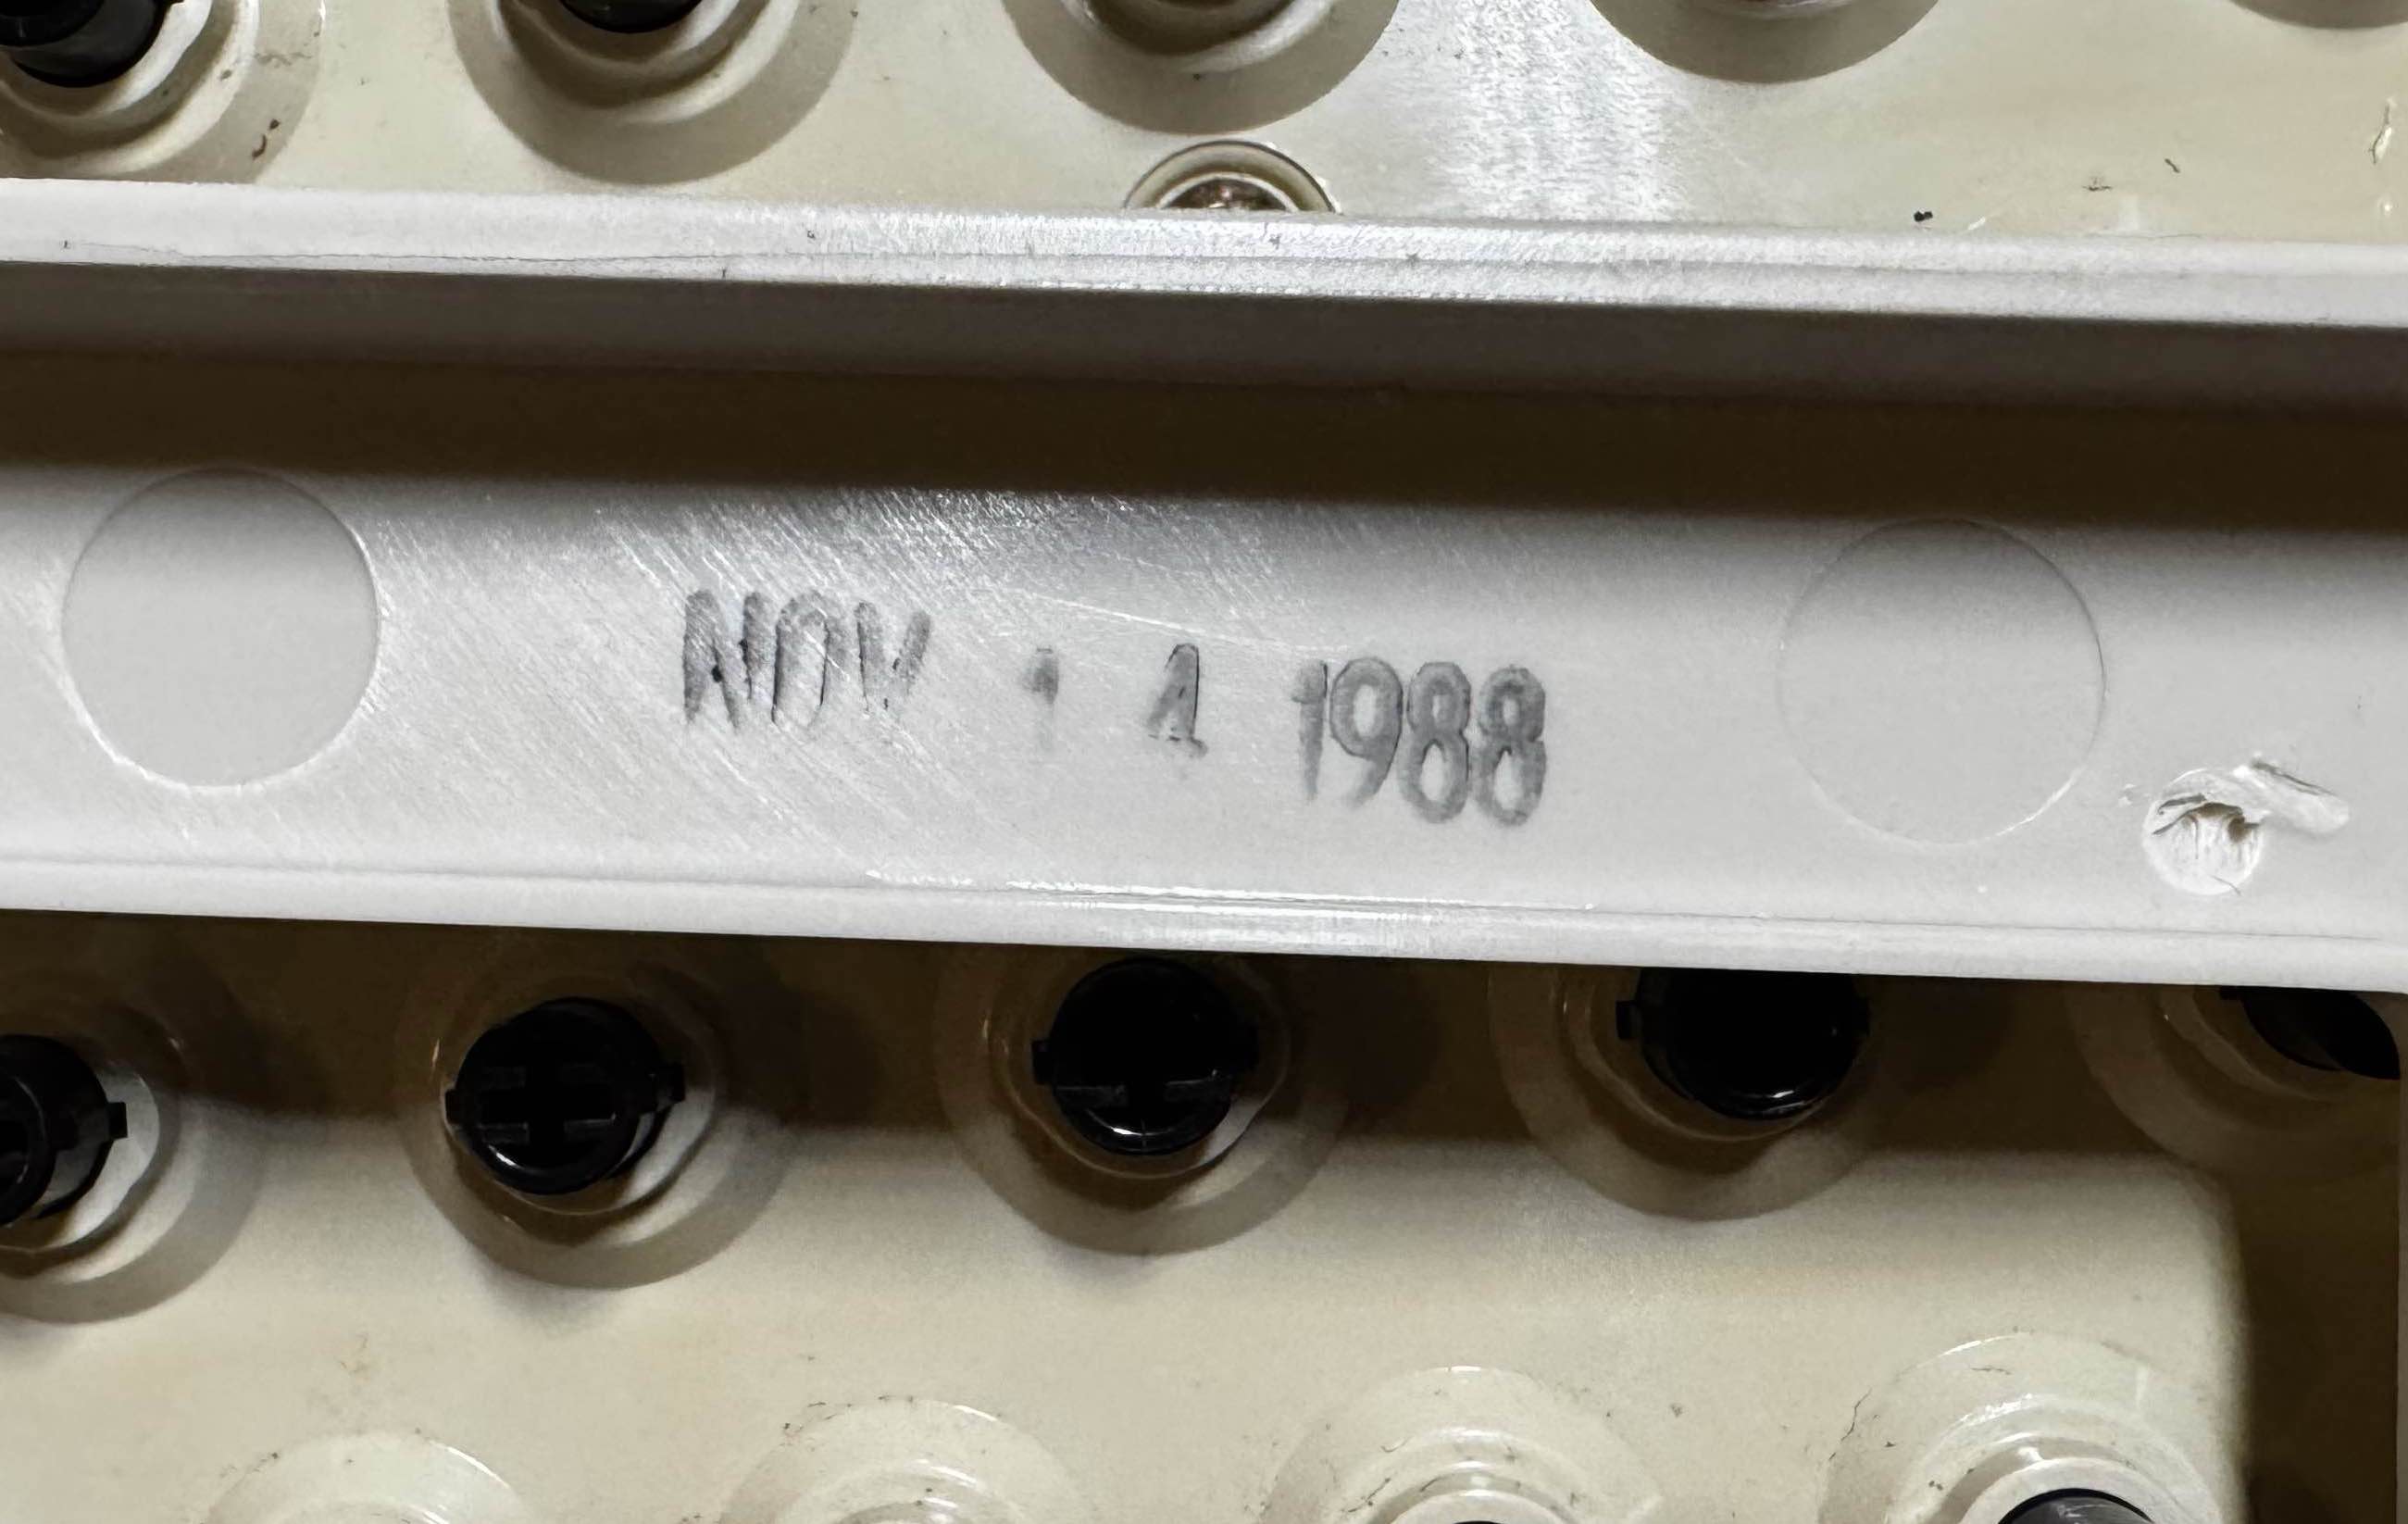
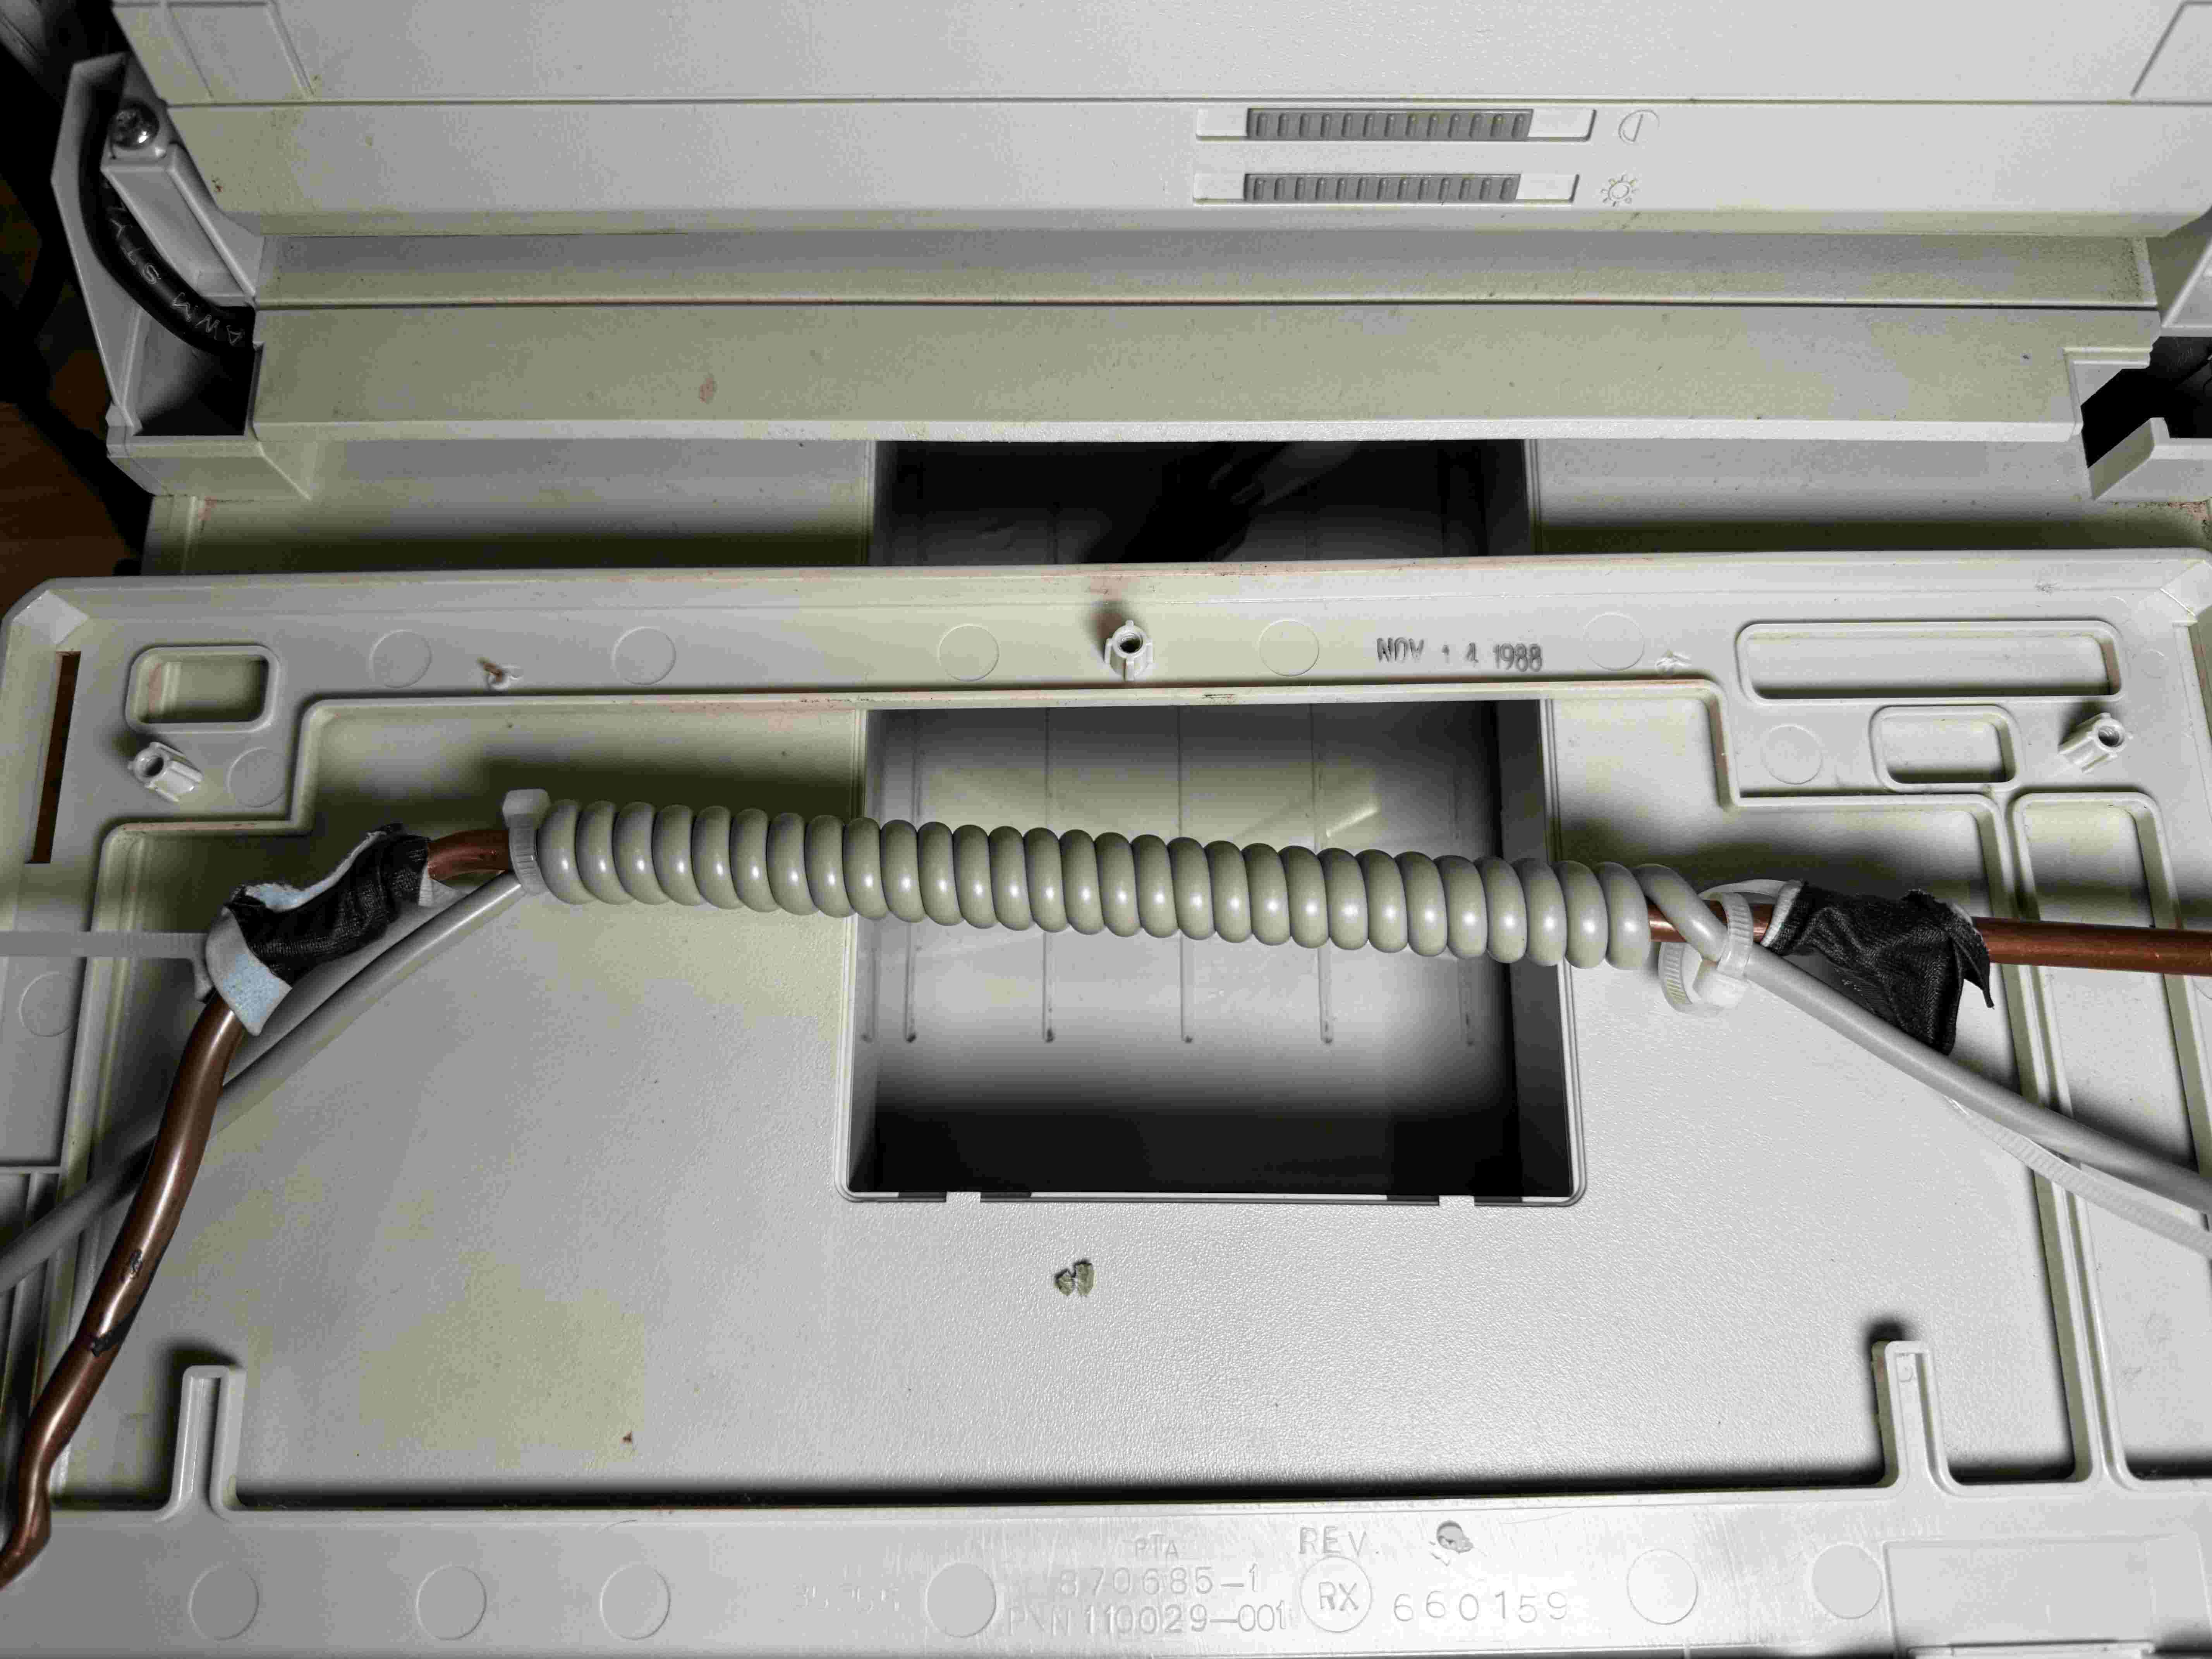
I also took this opportunity to clean the top cover using the same soap and water. Being careful not to erase the manufacture date, I cleaned it to remove the grime.
Next up, let’s replace the cable.
Coiling a new cable
I ordered this monoprice ps2 cable off of amazon to replace the falling part one with. I don’t think I’ll ever find one with the fancy plug the original has, the color mostly matches and I can always 3D Print something to enable plugging/unplugging with greater ease.
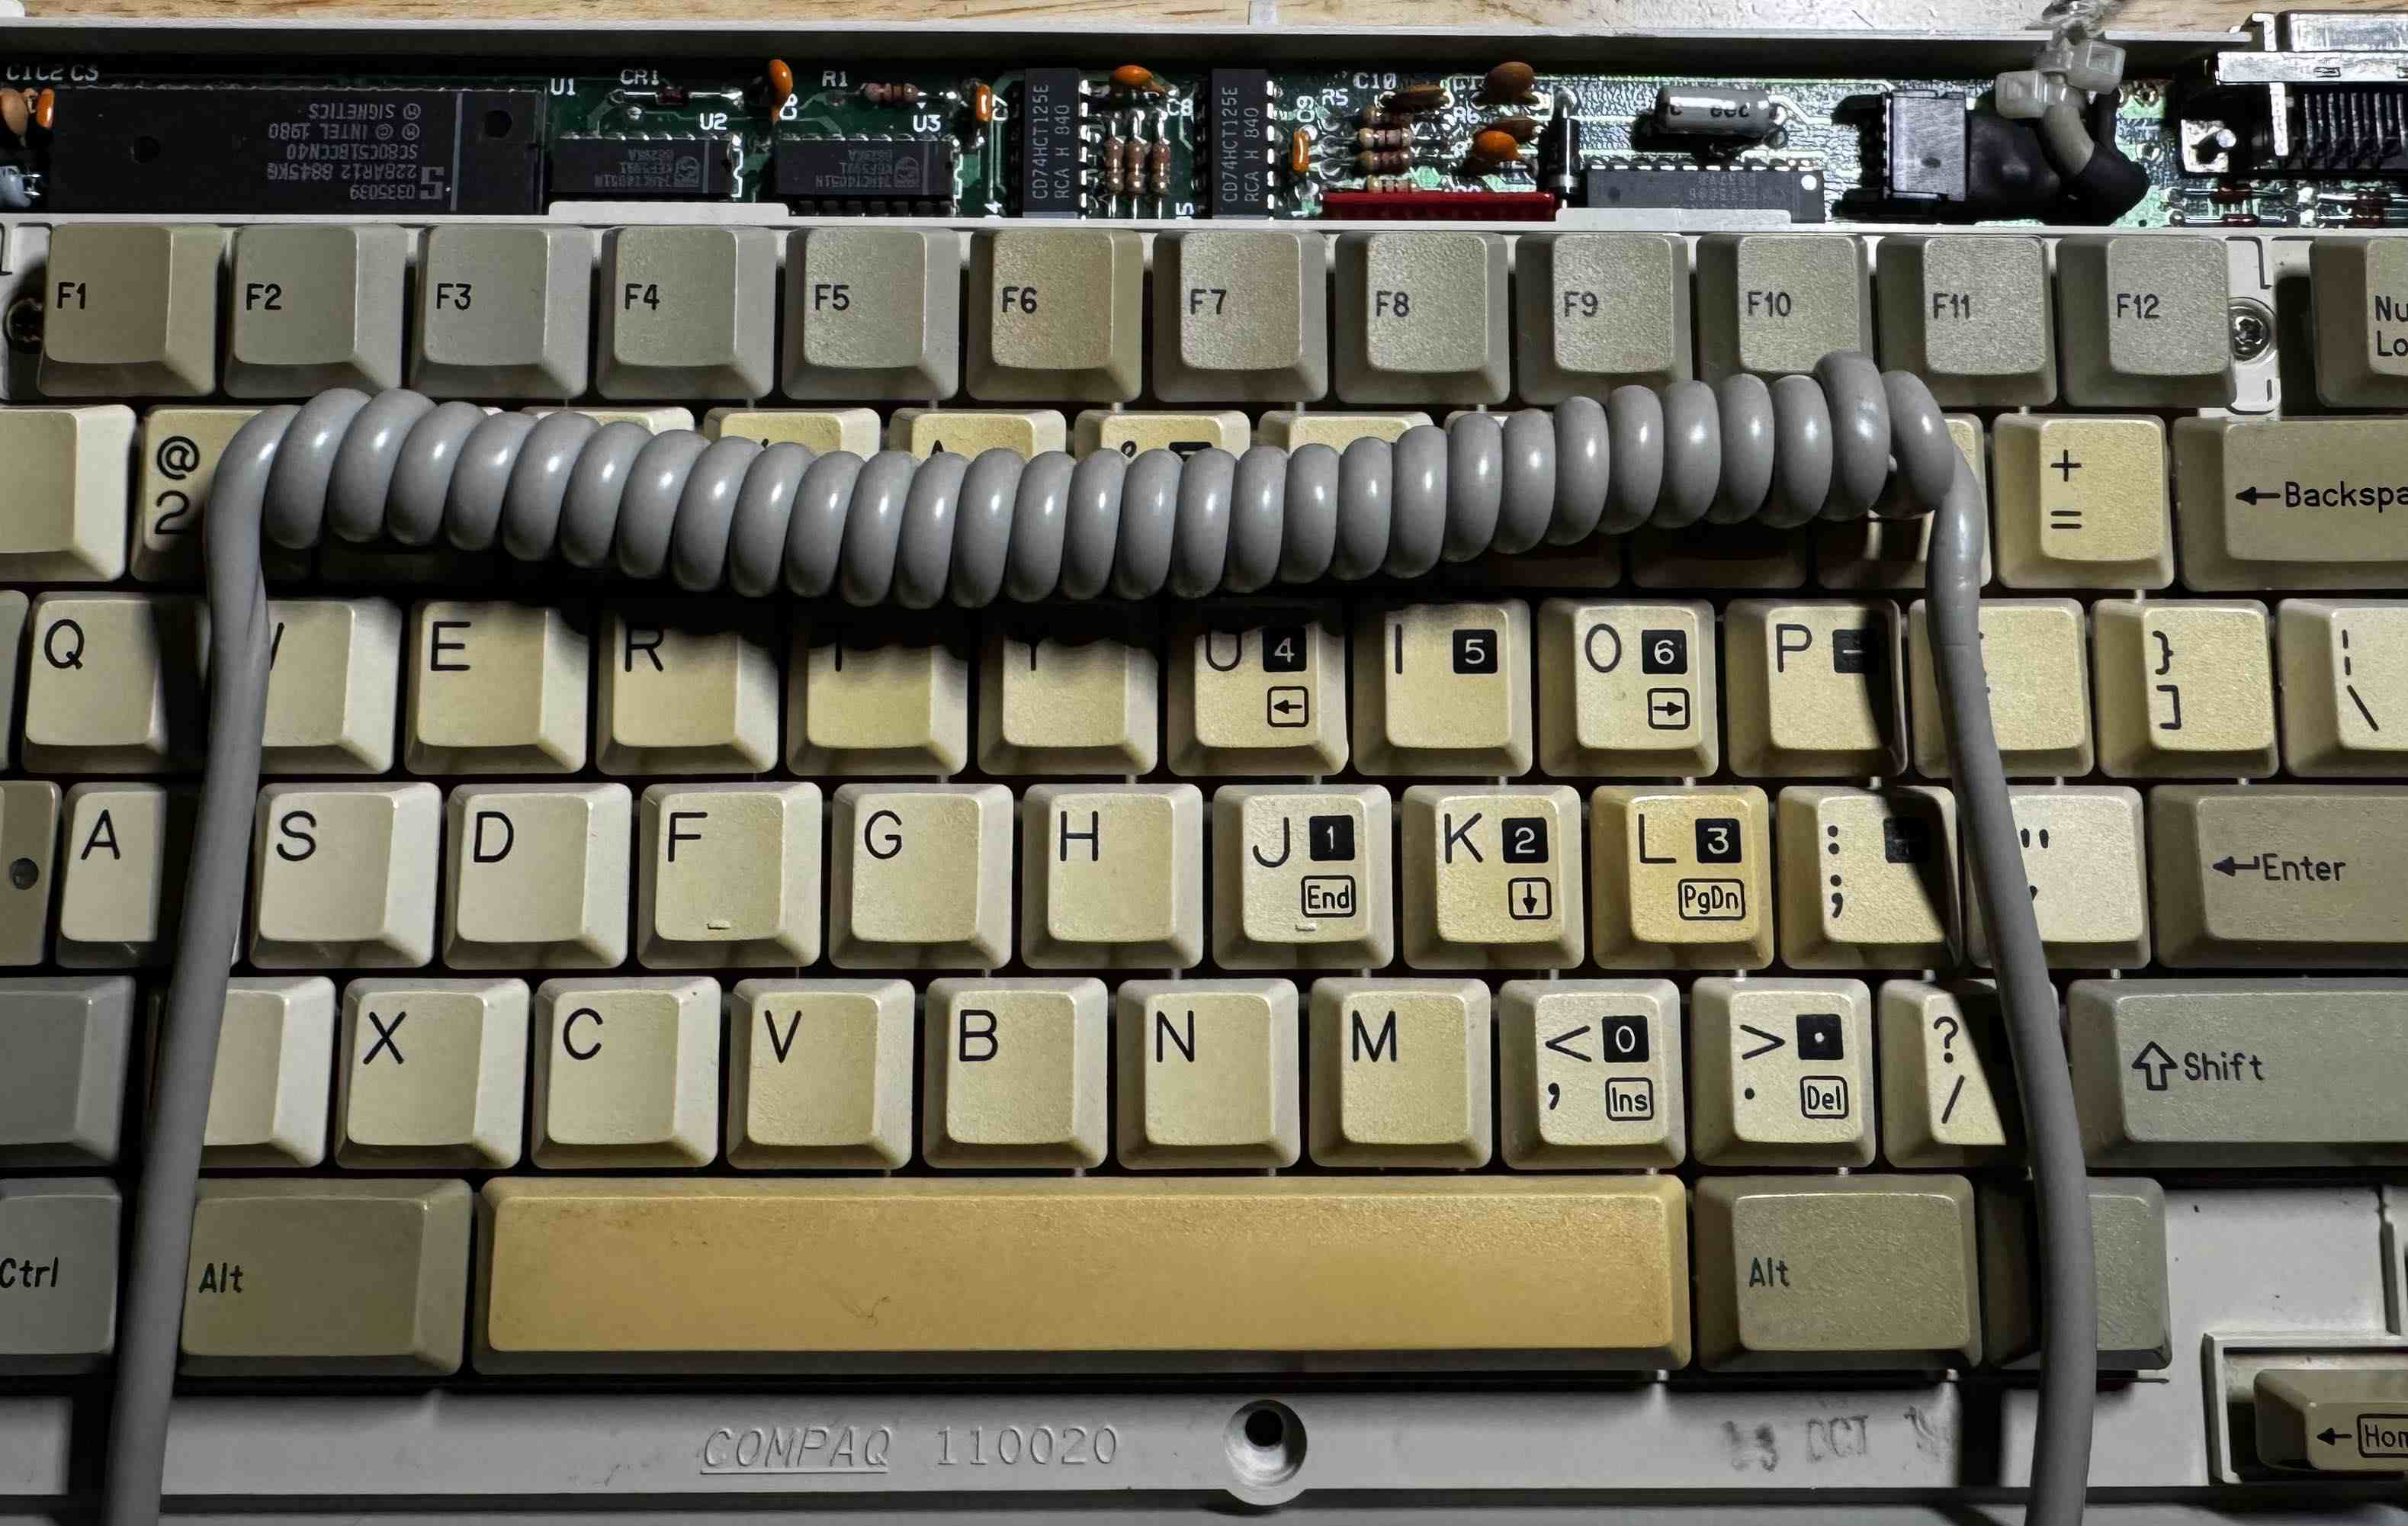
First, I tried this using a piece of narrow ~5mm copper pipe, I had around, and heating it with a heat gun. This worked, but I found that the resulting coils had too large a diameter. So, I unwound it, re-coiled it over a 1.5mm steel rod, and re-tried.
Even though the narrow rod resulted in more coils, they actually ended up back at the correct diameter.
Once removing, the trick is to “invert” the coils, so that if it was wound counter-clockwise, it is now clockwise. That makes the coiled cable more stable, and makes it “springy”:
Next up, determining which wires are which, within the existing cable so we can splice this in its place. Not a surprise - the colors didn’t match. And even if they did, I wouldn’t have trusted them. I took the multimeter, and matched each pin with the wire it matched. Within both, the cable include an un-insulated ground cable, which was connected to the main ring portion of the connector.
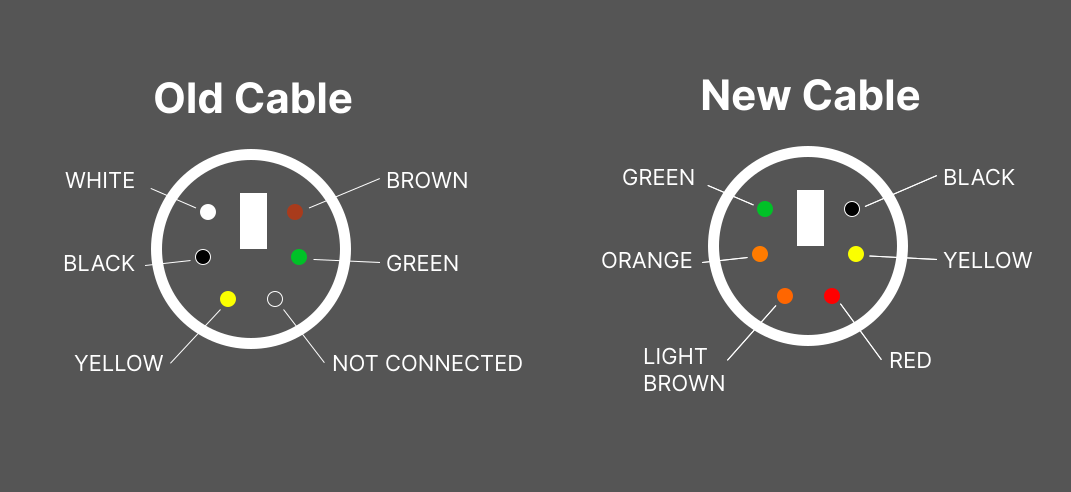
Patching The Cable
Now that we’ve figured out how to wire it, we need to splice it in. I decided to leave as much cord as I could connected to the plug within the base, just in case I need to fix this later.
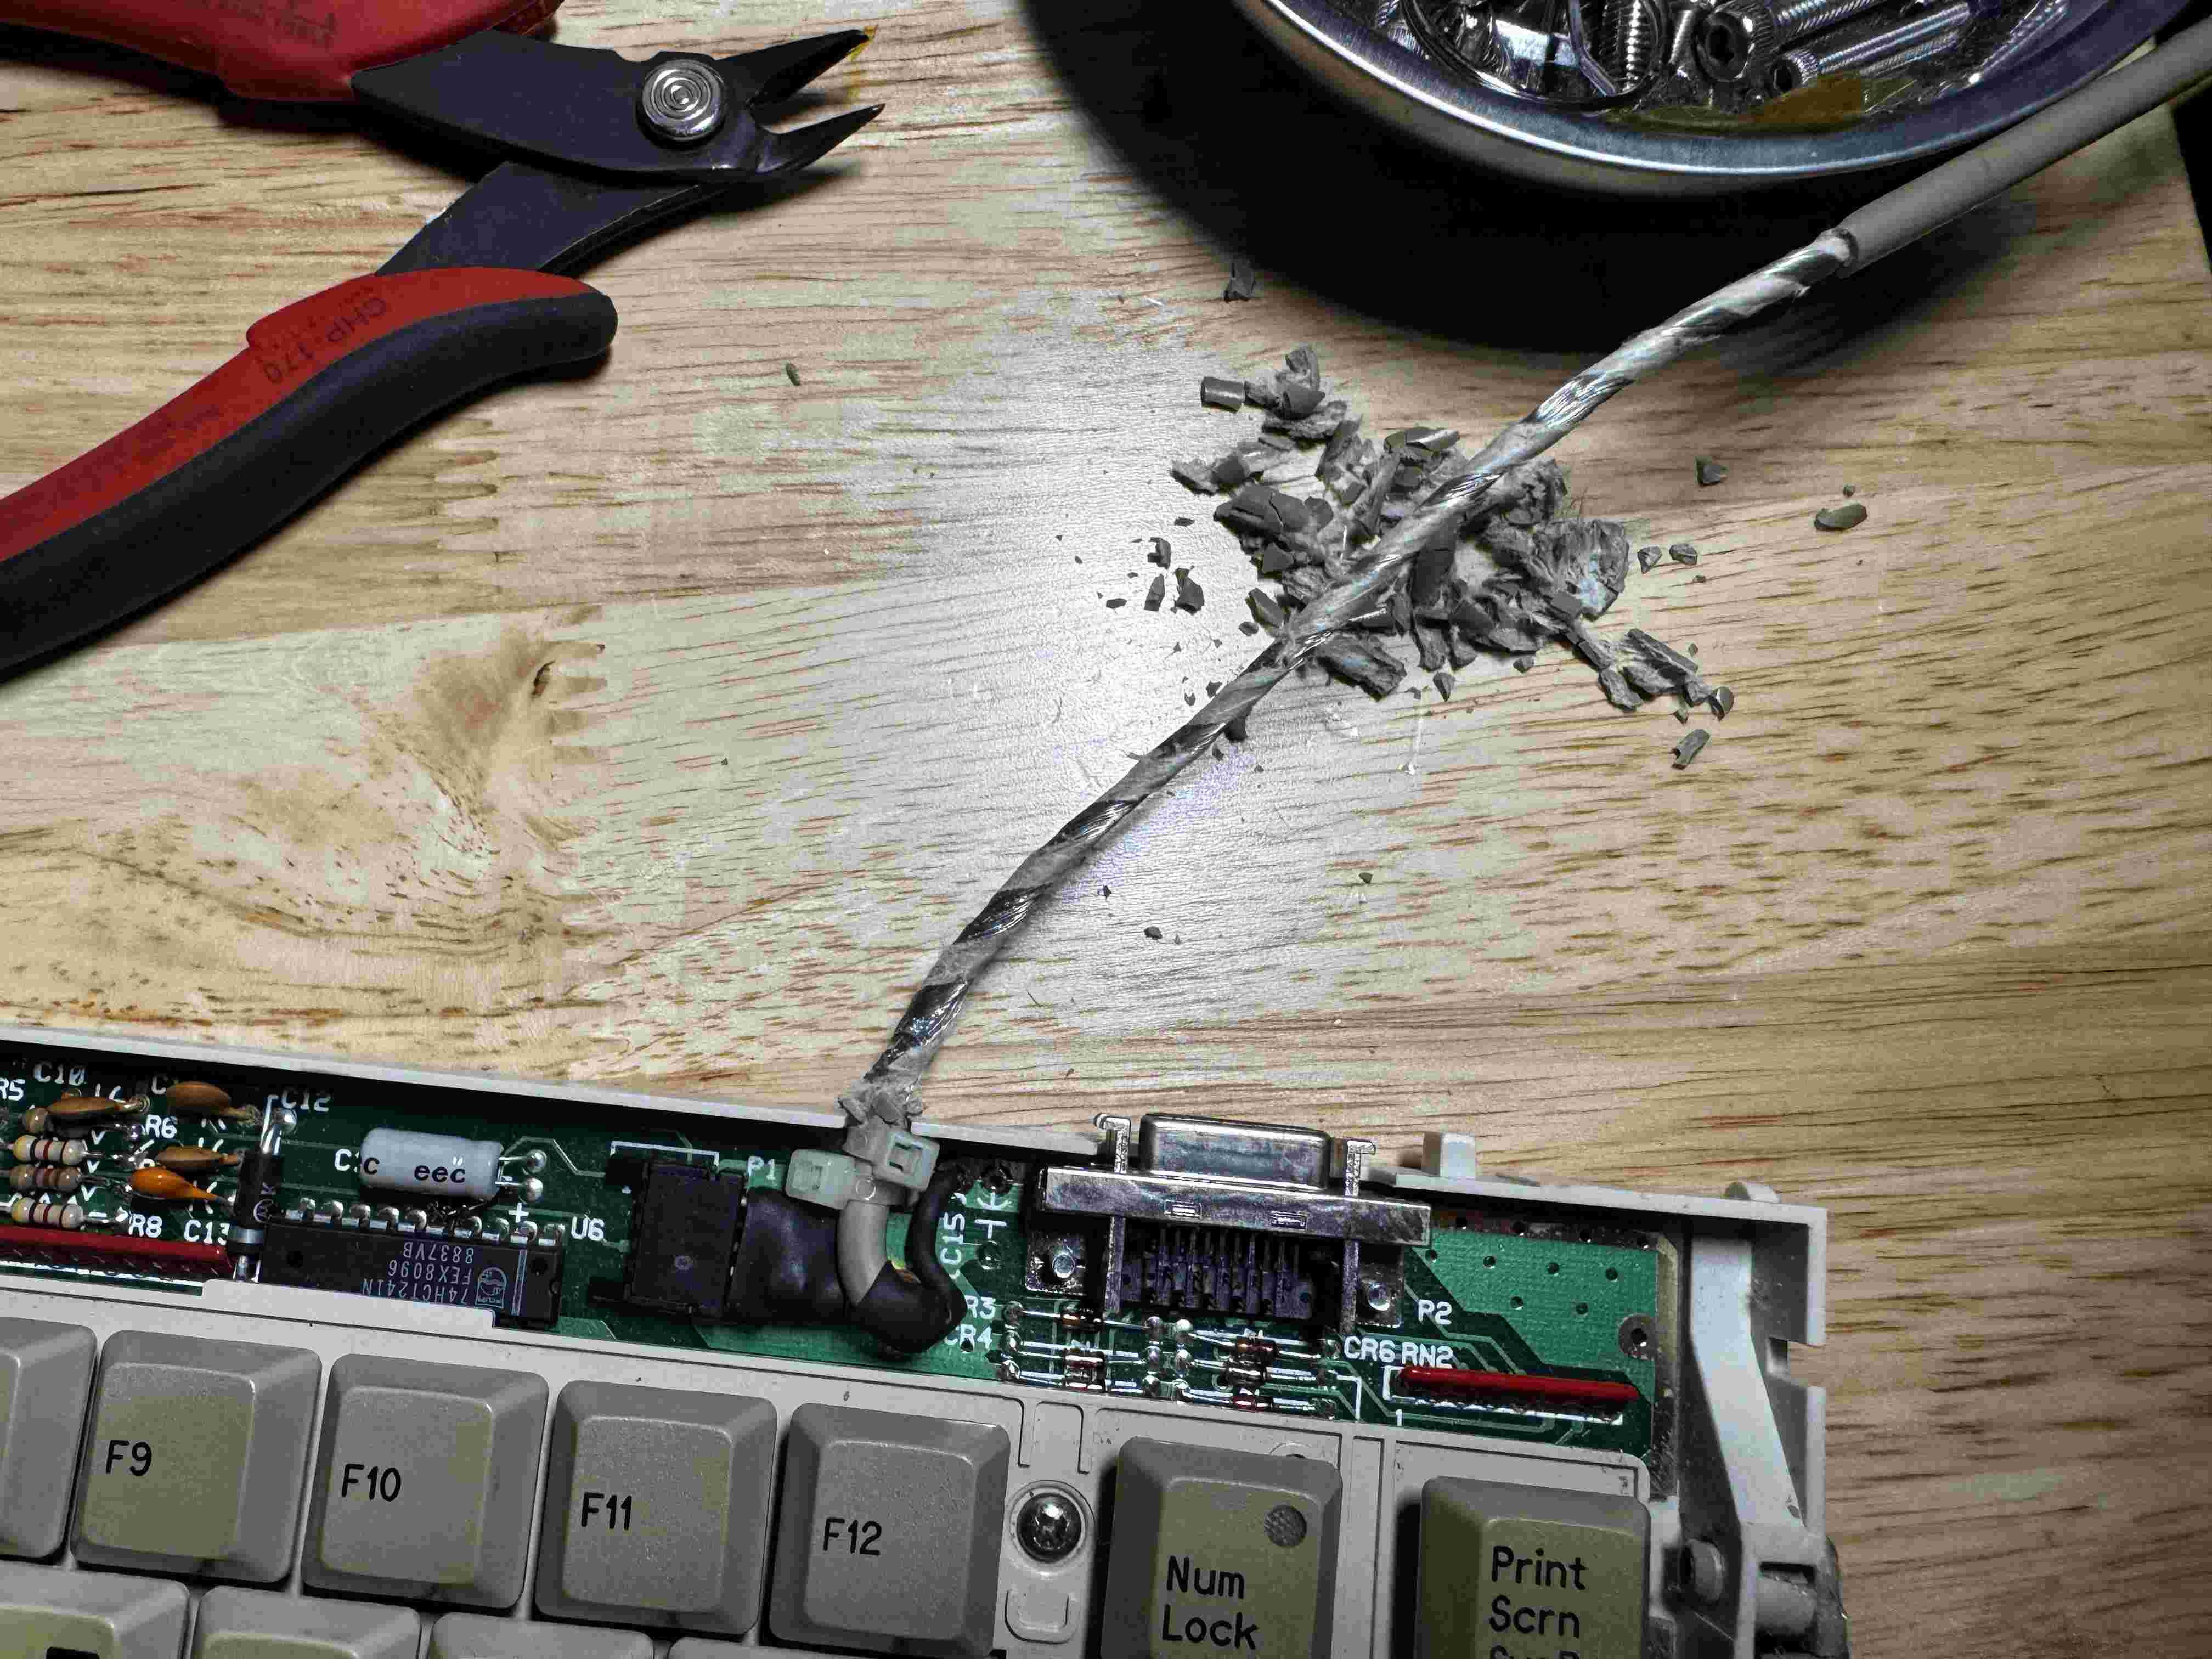
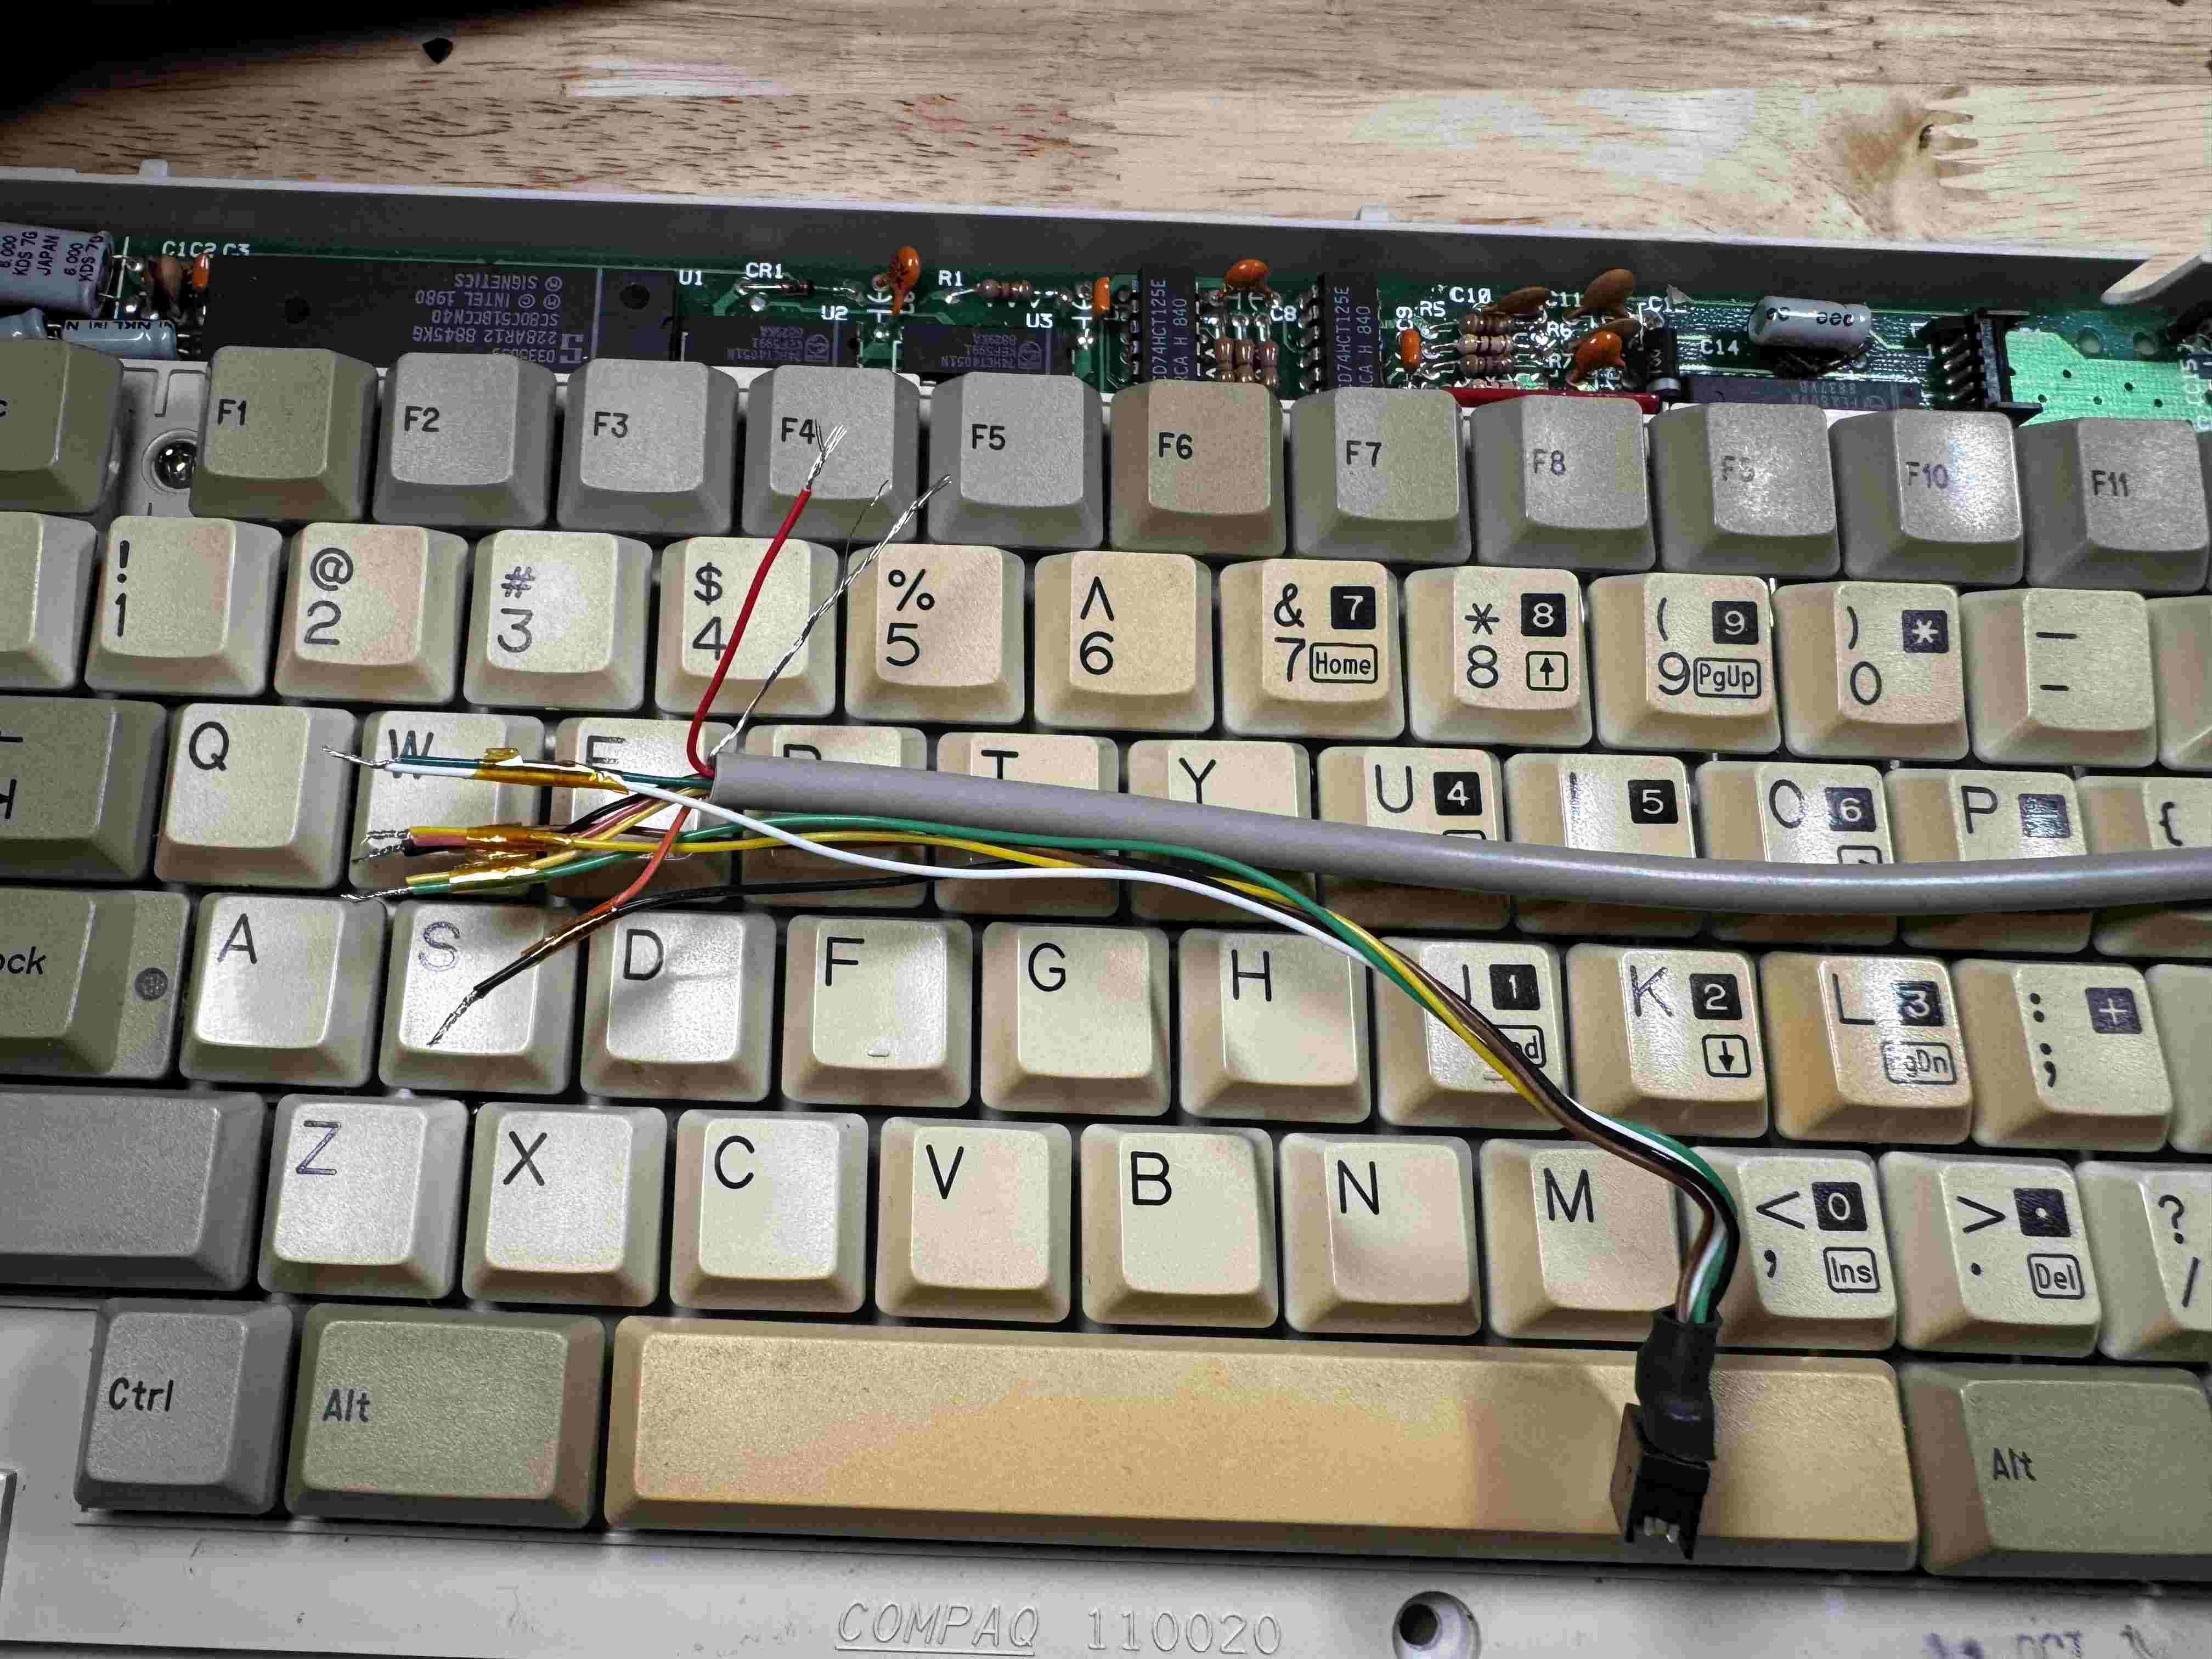
I cut the zip-ties holding it in, and then cut it and removed the (basically gone) insulation. I then unplugged it. Finally, I spliced it using our determined pairing, and soldered it:
Then, I did a little work to fit them all into the box. I needed to flatten them a bit, but I managed to make it fit inside without much issue:
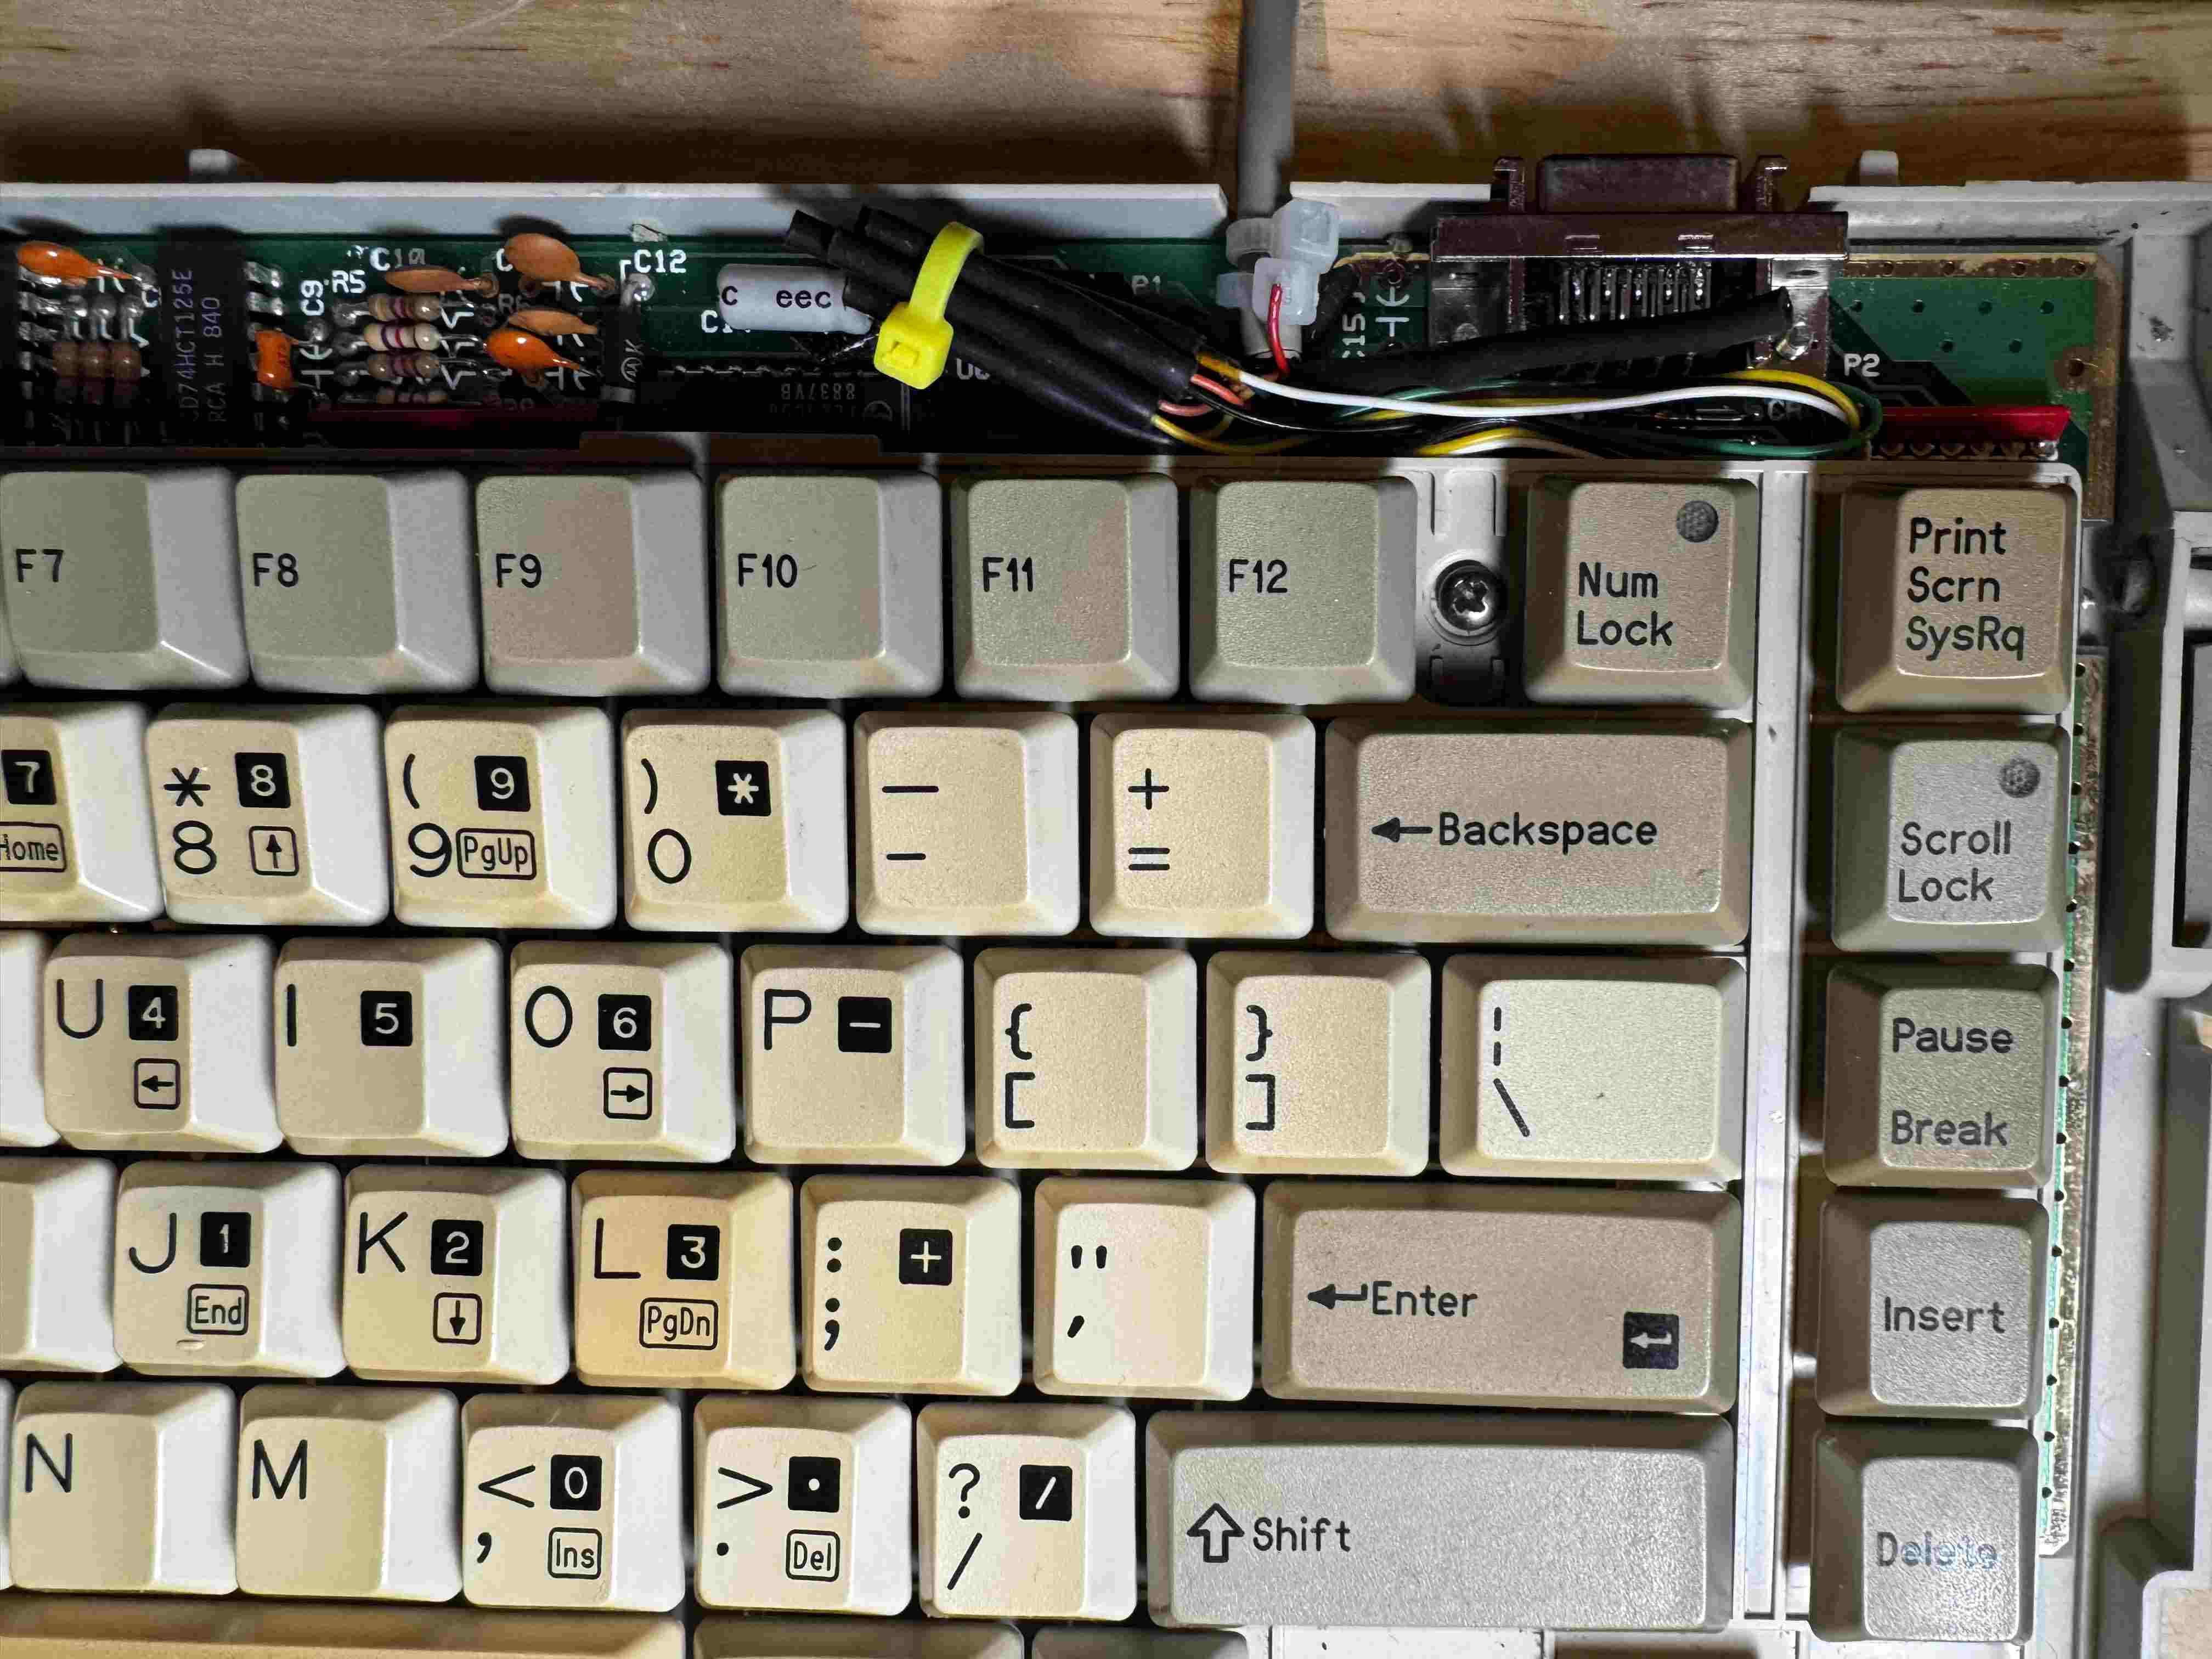
I likely could have used smaller heat-shrink (I may go back and change this), but I ran out while doing the initial repair, and wanted to test to make sure it worked.
Final Assembly
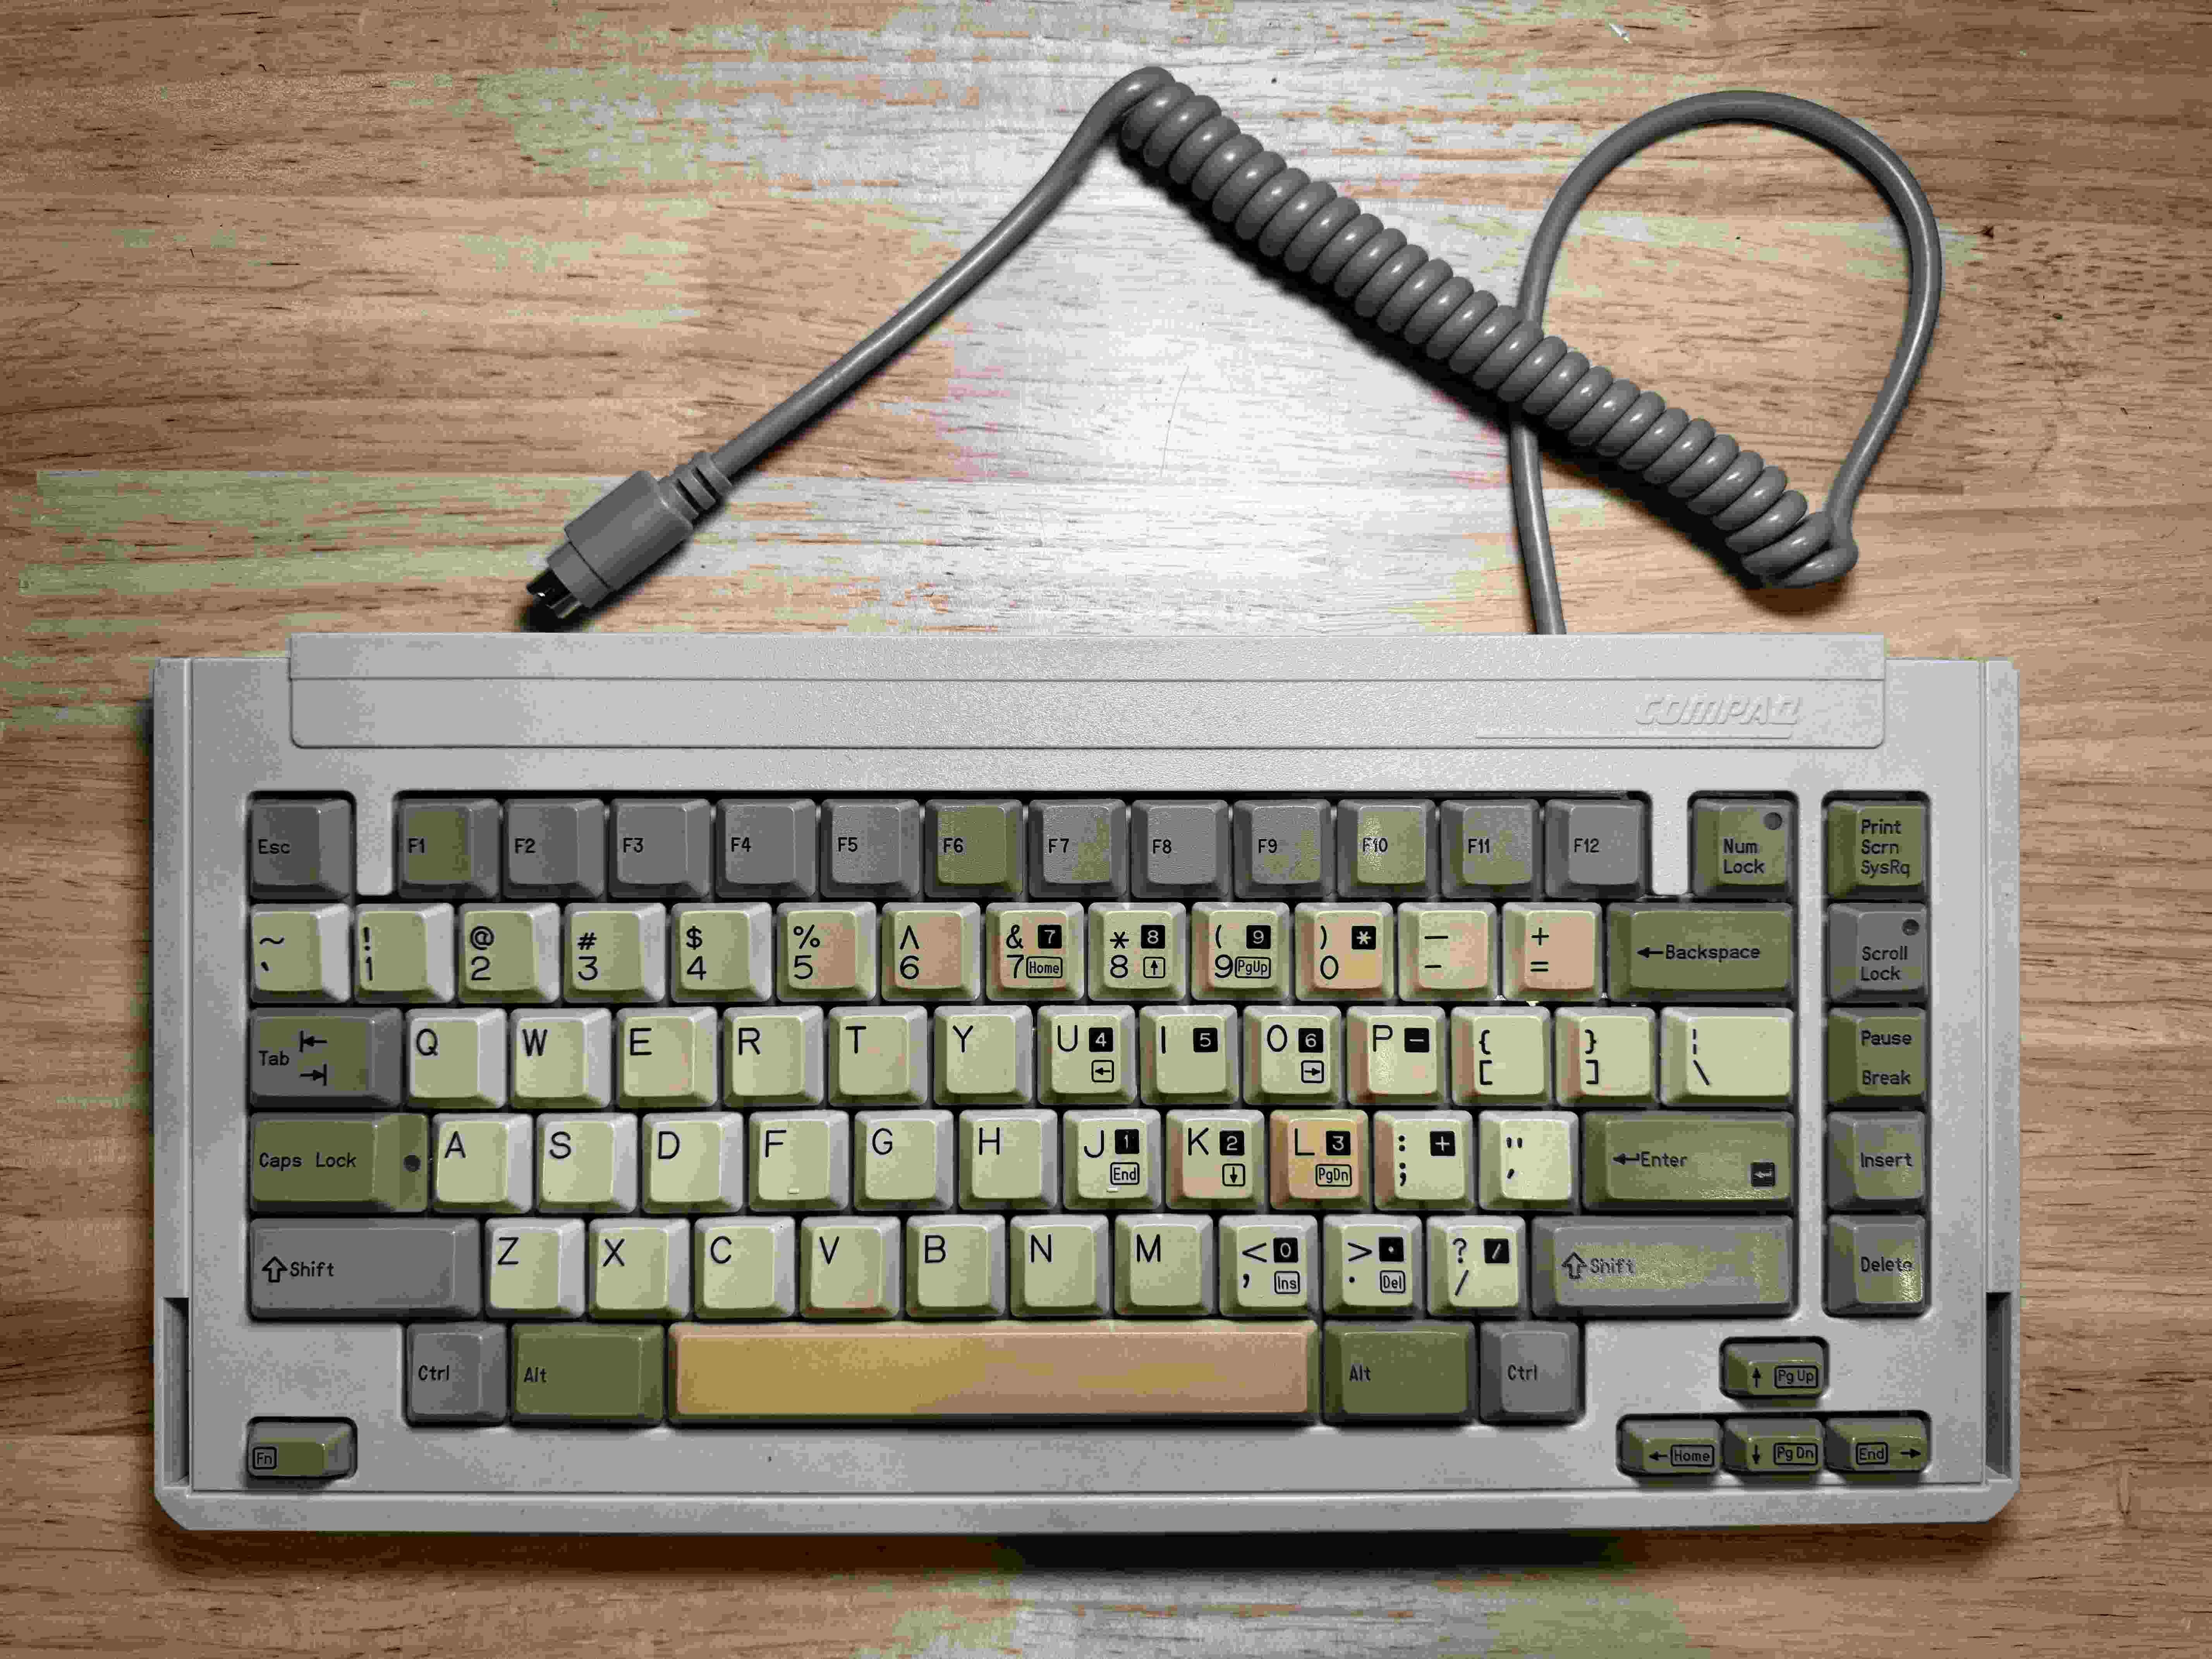
Profit
It Works!!
Manufacture Date
Also underneath the top, is a stamp of the manufacture date - November 14, 1988!