I recently decided to build a cheap NAS box for my personal use as an on-site backup solution to complement my cloud storage on AWS/Github. I had a older spare machine collecting dust which seemed like it might be up to the task until I purchase a real NAS.
Drive Specs
Since they were available for cheap, the main system drive is a 120GB Kingston SSD
And the NAS drives for data storage are 2x 2TB Western Digital RED drives:
Mounting the drives.
This case layout for this PC wasn’t very well thought out and the SATA power connectors and don’t line up nicely with the drives inside of the drive caddy. To fix this, I purchased some SATA power extenders which I’ll be installing when they arrive: Cable Matters 3-Pack 15 Pin SATA Power Extension Cable 12 Inches.
Setup
First thing’s first
All these commands must be run as root. Either use sudo or login as root. The mdadm utility won’t even appear for non-root users on my machine. For this walkthrough, I used two blank drives, so you may need to erase them if you want this to work.
Setting Up mdadm
First, we install mdadm, which we will use to manage our RAID-1 setup.
apt-get update
apt-get install mdadm
Finding devices.
Run lsblk to list all block devices. Mine were /dev/sdb and /dev/sdc because they were in sata ports 1,2, but yours may be different. The important information is the first column (the device names).
$ lsblk
NAME       SIZE  TYPE  MOUNTPOINT
sda      111.8G  disk
├─sda1   110.8G  part  /
├─sda2       1K  part
└─sda5    1013M  part  [SWAP]
sdb        1.8T  disk           <-- nas drive #1
sdc        1.8T  disk           <-- nas drive #2
sr0       1024M  rom
Check for existing RAID configuration
These commands tell you if there is an existing raid configuration set up.
cat /proc/mdstat
mdadm -E /dev/sd[b-c]
Partitioning
Here, we need to partition the devices. For each of them, I created a full-disk primary parition, and set the type of each to linux raid (type fd).
fdisk /dev/sdb
fdisk /dev/sdc
Check statuses
We should see status information for the two blocks, and their partions.
mdadm -E /dev/sd[b-c]
mdadm -E /dev/sd[b-c]1
Create the RAID device
Next, we create the raid device using mdadm --create Then, read current status of the array.
mdadm --create /dev/md0 --level=mirror --raid-devices=2 /dev/sd[b-c]1
cat /proc/mdstat
mdadm --detail /dev/md0
Format /dev/md0 as ext4
This command may take a little while depending on speed and drive size. It will format the entire device as ext4.
mkfs.ext4 /dev/md0Mounting it for the first time
First, we create a mount point at /mnt/raid. Then, we mount /dev/md0 into it.
mkdir /mnt/raid1
mount /dev/md0 /mnt/raid1
Save configuration
This appends the current mdadm configuration to the mdadm.conf file, so it will persist.
mdadm --detail --scan --verbose >> /etc/mdadm/mdadm.confTesting it out
This command should show the status information and mount points. you should see a line that reads /dev/md0 /mnt/raid1.
$ df -h
Filesystem      Size  Used Avail Use% Mounted on
udev            490M     0  490M   0% /dev
tmpfs           100M  3.1M   97M   4% /run
/dev/sda1       109G  965M  103G   1% /
tmpfs           499M     0  499M   0% /dev/shm
tmpfs           5.0M     0  5.0M   0% /run/lock
tmpfs           499M     0  499M   0% /sys/fs/cgroup
/dev/md0        1.8T  8.6G  1.7T   1% /mnt/raid1      <-- our raid array
tmpfs           100M     0  100M   0% /run/user/1000
Creating a README
I then created a readme to verify I could read/write to the disks successfully.
cd /mnt/raid1
ls
touch readme.txt
vi readme.txt
Auto-mount
Note: this fails on newer distributions after a reboot.
Original /etc/fstab entry
sudo vi /etc/fstabFirst, I added the following contents to my /etc/fstab. This was the original entry I added per the instructions I was following:
# RAID MOUNT
/dev/md0        /mnt/raid1      ext4        defaults 0 0
Next, update the boot image to ensure all the required configuration files are up-to-date.
sudo update-initramfs -uMounting
I run the following to test mount, which worked. I then waited for the initial sync of the disks to finish, and then rebooted when it was done.
mount -avErrors!
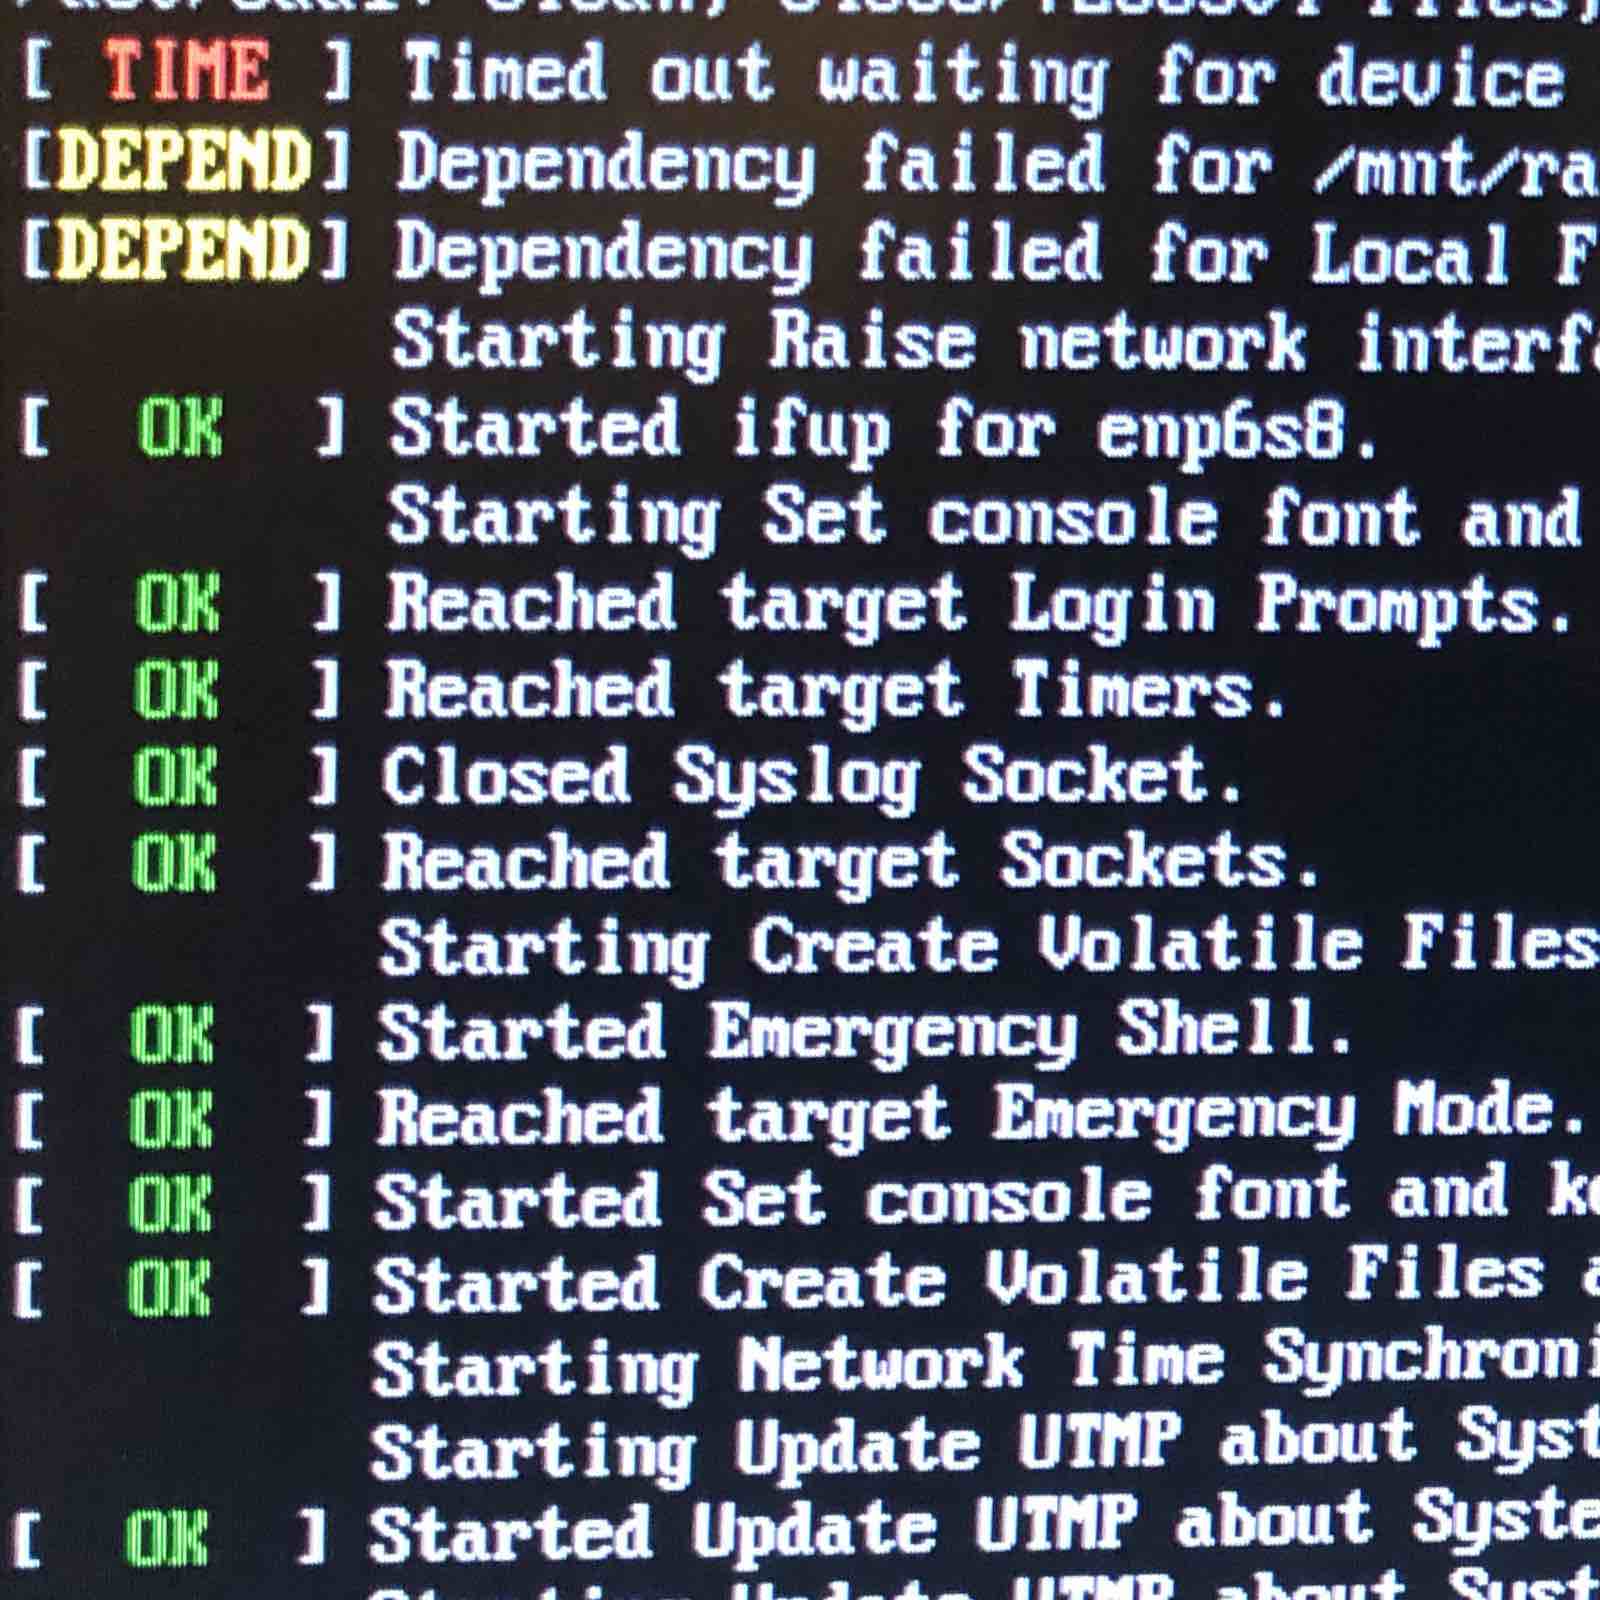
When rebooting, I recieved the following error messages:
[ TIME ] Timed out waiting for device dev-md0.device
[DEPEND] Dependency Failed /mnt/raid1
[DEPEND] Dependency Failed for Local File Systems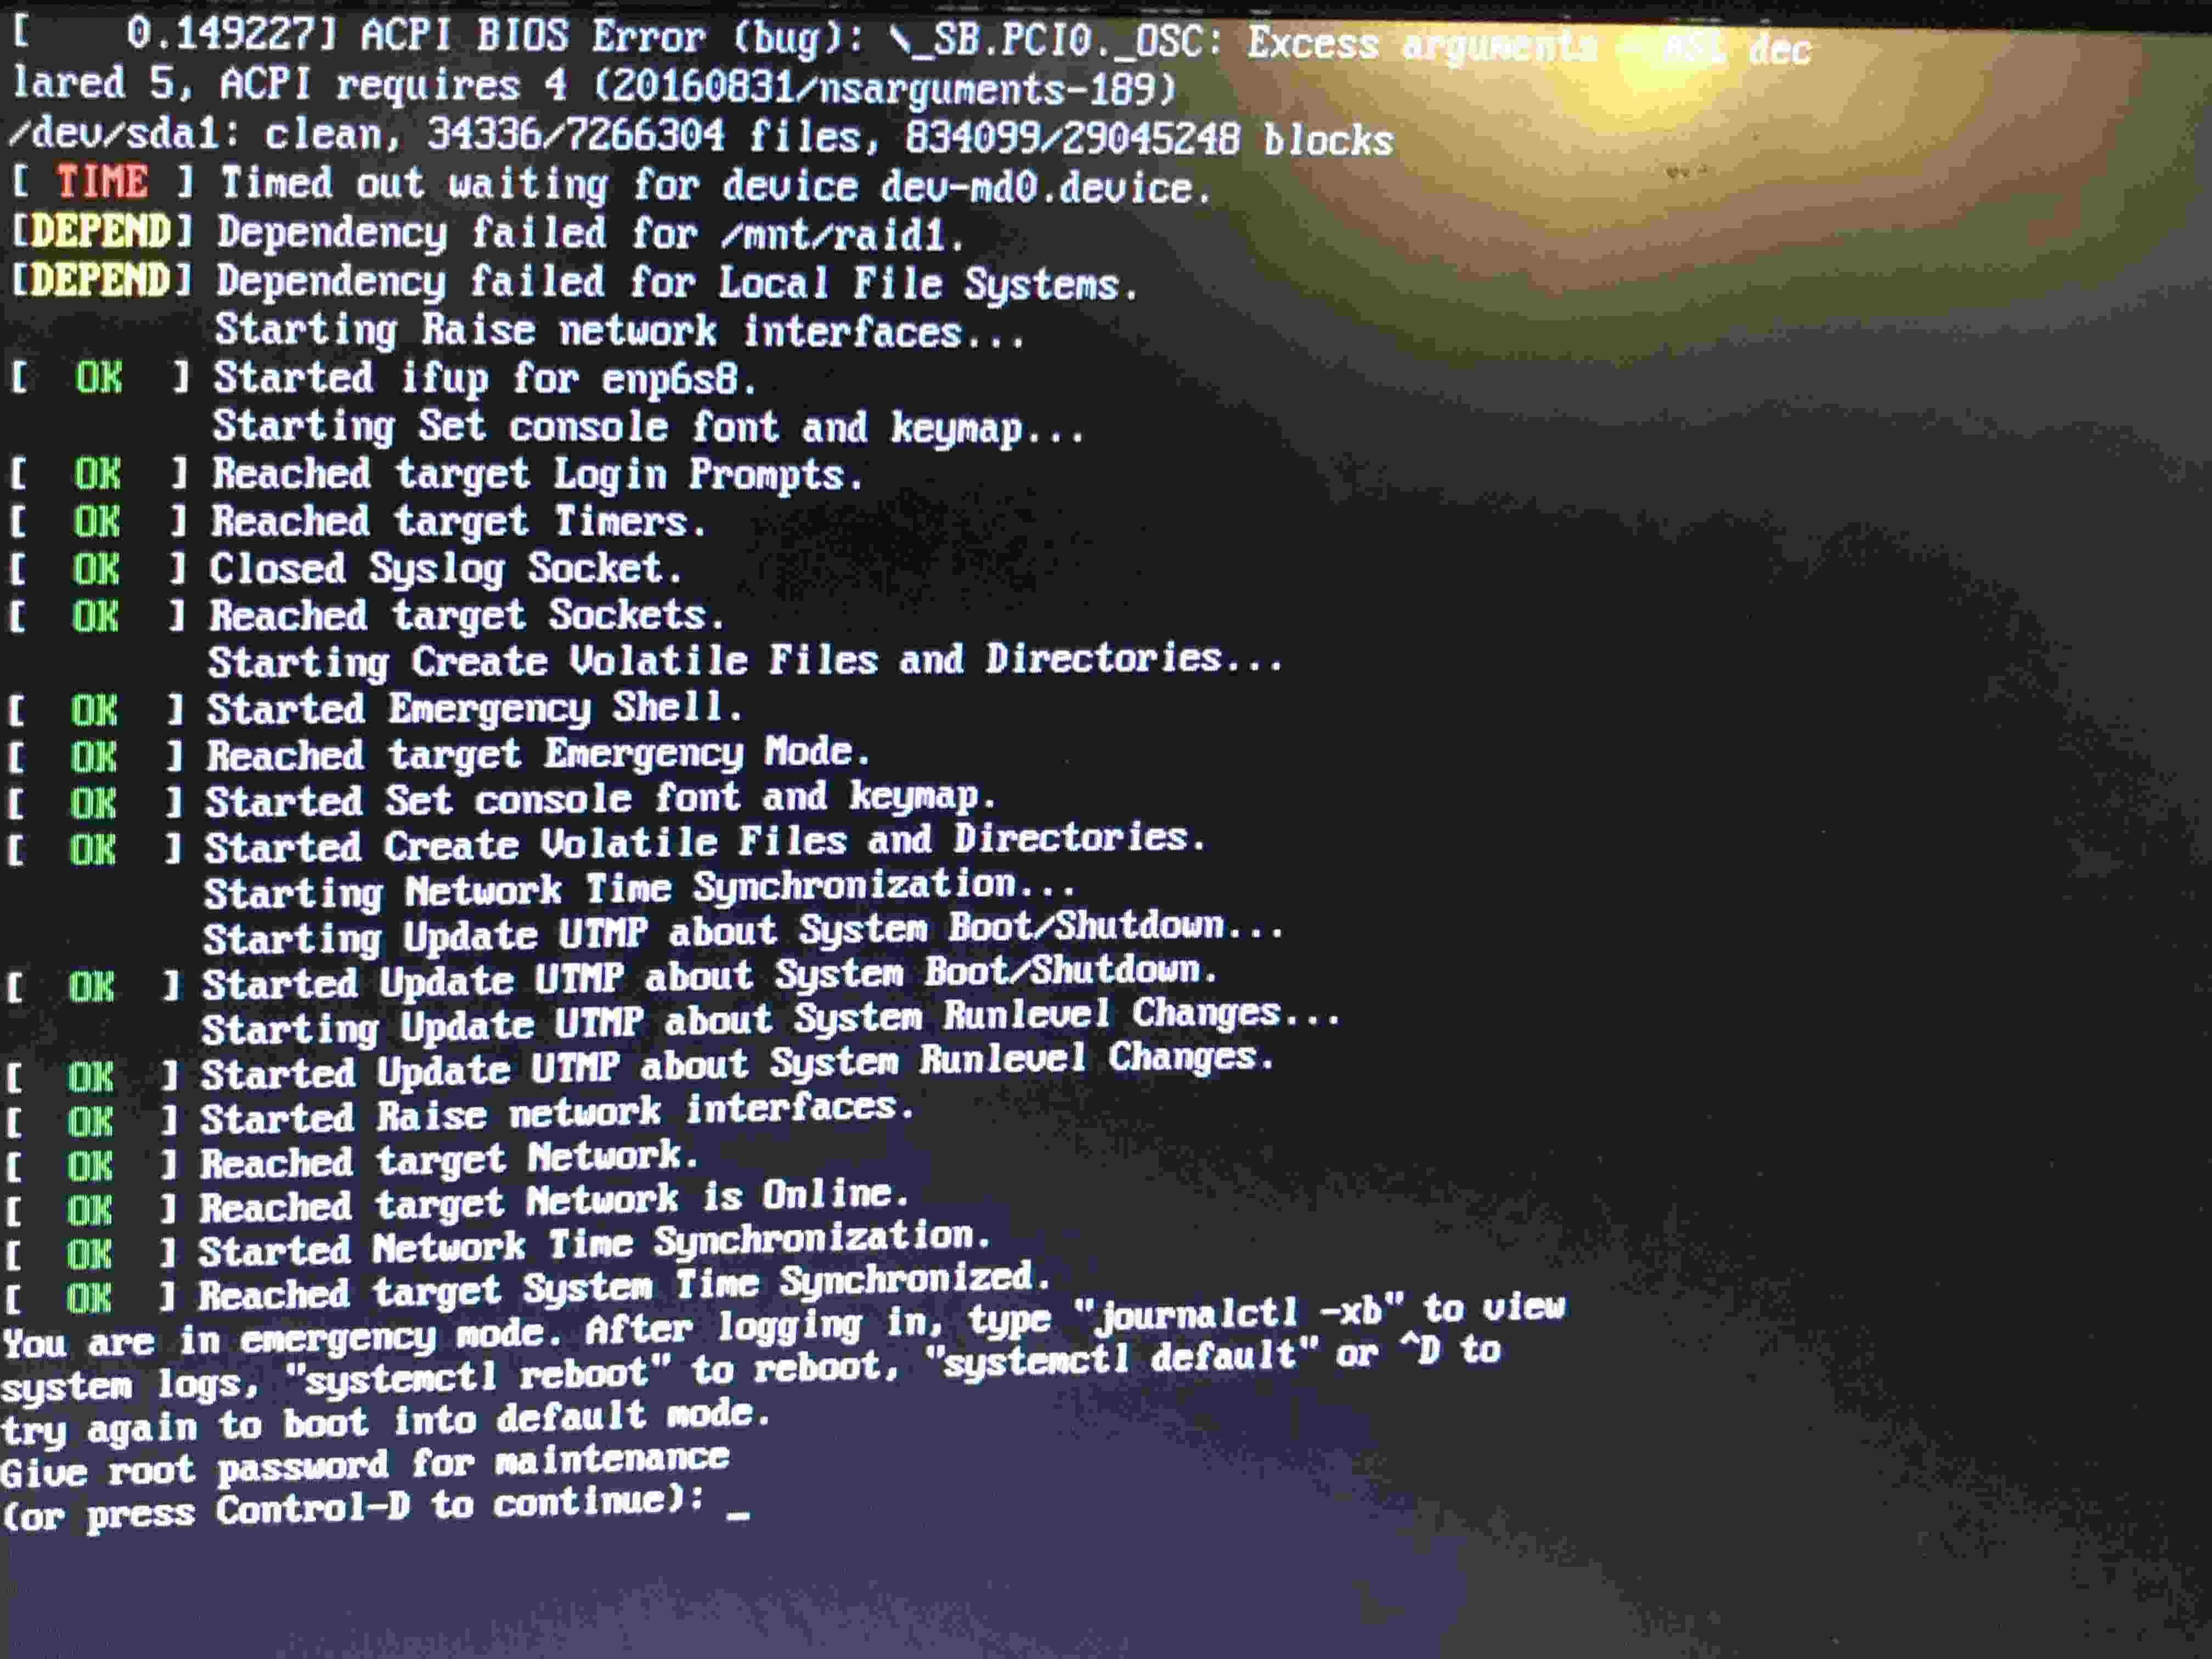
…and was promptly dropped into emergency mode. Not Good.
As it turns out, on newer distributions the RAID array is referred to by it’s name, and ids are “randomly” assigned So, I had to modify my fstab entry to what was shown below. You should be able to find the proper name for yours by running ls /dev/md. I then modified the /etc/fstab entry as shown below, and rebooted:
Note 2019-07-06 - this may be because my initramfs wasn’t updated with my configuration properly - the early boot process needs the config to properly assemble the arrays. See the section on RAID1 here. The initramfs should be updated after making config changes using sudo update-initramfs -u. I’ve added it above.
# RAID MOUNT
# NOTE: I've since reverted this to the configuration specified in the previous section, using /dev/md0
/dev/md/infante-nas0:0        /mnt/raid1      ext4        defaults 0 0
Success!
The RAID array now functions properly through reboots, and is auto-mounted on startup. lsblk now shows the disks and partitions, as well as their sizes. Both /dev/sdb and /dev/sdc should be mounted as raid1 on the same mountpoint, as shown below:
$ lsblk
NAME      MAJ:MIN RM   SIZE RO TYPE  MOUNTPOINT
sda         8:0    0 111.8G  0 disk
├─sda1      8:1    0 110.8G  0 part  /
├─sda2      8:2    0     1K  0 part
└─sda5      8:5    0  1013M  0 part  [SWAP]
sdb         8:16   0   1.8T  0 disk
└─sdb1      8:17   0   1.8T  0 part
  └─md127   9:127  0   1.8T  0 raid1 /mnt/raid1
sdc         8:32   0   1.8T  0 disk
└─sdc1      8:33   0   1.8T  0 part
  └─md127   9:127  0   1.8T  0 raid1 /mnt/raid1
sr0        11:0    1  1024M  0 rom
/proc/mdstat contents
Active arrays:
Personalities : [raid1] [linear] [multipath] [raid0] [raid6] [raid5] [raid4] [raid10]
md127 : active raid1 sdc1[1] sdb1[0]
      1953382464 blocks super 1.2 [2/2] [UU]
      bitmap: 0/15 pages [0KB], 65536KB chunk

unused devices: <none>
mdadm --detail /dev/md0
Once the drives finish syncing, they should read as “clean”
/dev/md/infante-nas0:0:
        Version : 1.2
  Creation Time : Tue Feb 19 22:17:37 2019
     Raid Level : raid1
     Array Size : 1953382464 (1862.89 GiB 2000.26 GB)
  Used Dev Size : 1953382464 (1862.89 GiB 2000.26 GB)
   Raid Devices : 2
  Total Devices : 2
    Persistence : Superblock is persistent

  Intent Bitmap : Internal

    Update Time : Wed Feb 20 11:39:06 2019
          State : clean
 Active Devices : 2
Working Devices : 2
 Failed Devices : 0
  Spare Devices : 0

           Name : infante-nas0:0  (local to host infante-nas0)
           UUID : 5fc44d14:b9c0404b:59fa587b:13837fcf
         Events : 6737

    Number   Major   Minor   RaidDevice State
       0       8       17        0      active sync   /dev/sdb1
       1       8       33        1      active sync   /dev/sdc1
Next steps
Next, I’ll be finishing laying out the cables and drives in the machine, and uploading pictures of the finished product! Stay tuned!
Network Sharing
Since this is also going to serve as a media server, I want to be able to access media from various connected devices. Since apps like VLC supports SMB network shares, I set up a read-only public share of the contents of the media drive.
Installing smbd
sudo apt update
sudo apt install samba
I added the following lines at the bottom of the /etc/samba/smb.conf config file to add shares for each type:
[Movies]
  comment = Movie Share
  path = /mnt/raid1/media/movies
  browsable = yes
  guest ok = yes
  read only = yes

[Movies]
  comment = Music Share
  path = /mnt/raid1/media/music
  browsable = yes
  guest ok = yes
  read only = yes
By default, smb configures printer shares. I commented out those lines in the config file, since I don’t need that enabled.